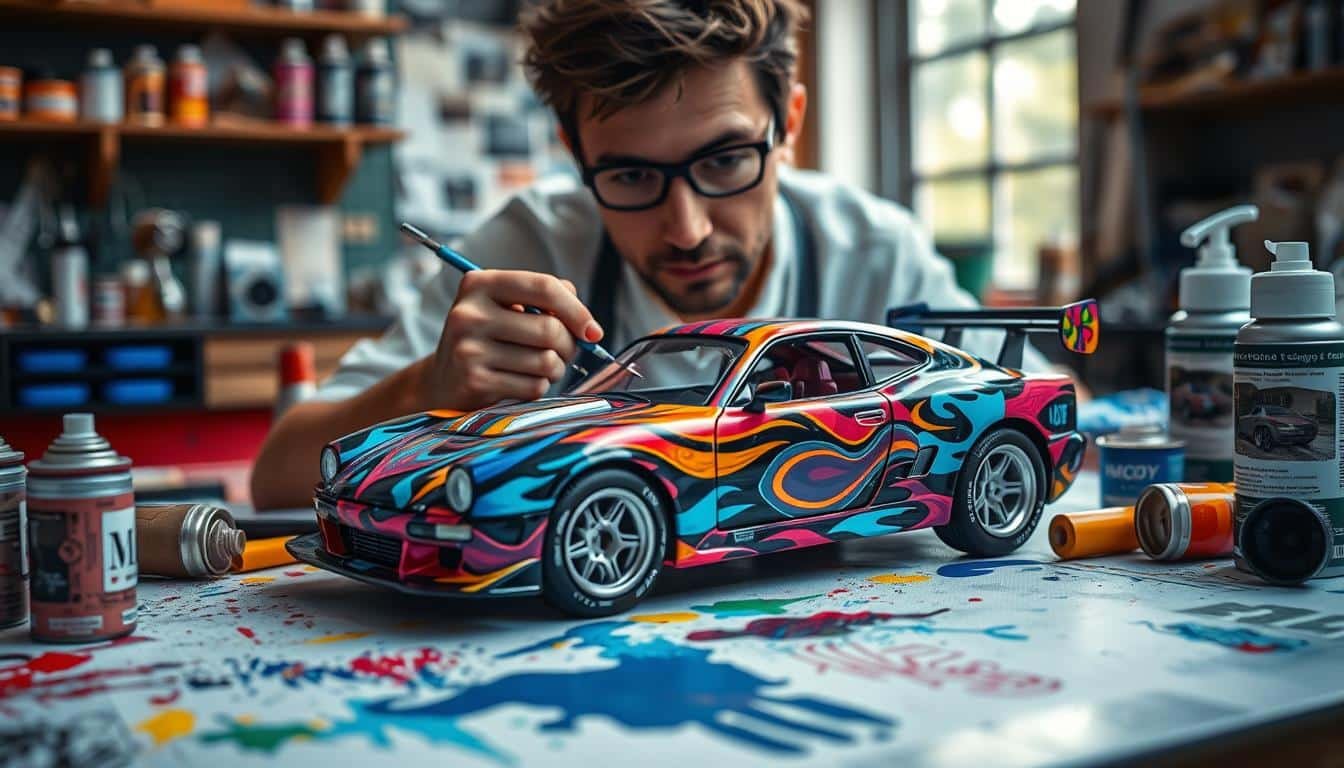
Diecast car painting is a growing trend among enthusiasts. 87% of collectors have tried to customize their models at least once. Mastering this art can transform your collection into showroom-quality custom vehicles.
Painting a diecast car requires patience, skill, and the right tools. Each step is crucial for a professional finish. This guide covers essential techniques for scale model detailing.
Key Takeaways
- Proper preparation is crucial for a successful diecast car painting project
- Choose the right paint type based on your skill level and desired finish
- Invest in quality tools and materials for best results
- Apply paint in thin, even coats for a professional look
- Use masking techniques for clean lines and precise details
- Consider a clear coat for added protection and shine
- Work in a well-ventilated area for safety and optimal results
Careful planning is key for diecast car painting. Beginners often use acrylic paints for easy use and cleanup. Enamel paints offer a glossy finish resembling real cars.
Automotive paints provide a wide range of shades and finishes. They allow you to accurately replicate any car model1. Gather all necessary tools and materials before starting.
High-quality brushes of various sizes are crucial for precision. Masking tape is essential for clean, crisp lines. Work in a well-lit, ventilated space for safety and best results1.
Start by cleaning the model with warm, soapy water. Apply a primer to create a smooth base for paint adhesion. Use thin, even coats for the best outcome1.
Consider applying a clear coat as the final step. This adds protection and enhances shine. Attention to detail is crucial in diecast car painting.
Recreate logos and designs with precision for a professional finish. Follow these steps to create stunning, custom-painted diecast cars. Your creativity and skill will shine through in your model car customization.
Essential Tools and Materials for Diecast Car Painting
Ready to repaint your diecast car? Let’s dive into the key supplies you’ll need for a top-notch paint job. Proper prep is crucial for stunning results.
Paint Stripping Supplies
First, you’ll need to remove the old finish. Grab these essential items:
- Aircraft Remover paint stripper
- Wire brush
- Small buckets for water
- Protective tarp or old bed sheet
Painting Equipment and Materials
Picking the right paint is vital. Here are your options:
| Paint Type | Characteristics | Best For |
|---|---|---|
| Acrylic | Water-based, easy to clean, quick-drying | Beginners |
| Enamel | Oil-based, glossy finish, durable | Realistic texture |
| Automotive | Authentic, highly durable | Professional finish |
Acrylic paints dry in 30 minutes. Enamel paints take 1-3 days to fully cure2. Use spray cans or airbrush for even coverage3.
Safety Gear and Workspace Setup
Stay safe with these essentials:
- Gloves
- Goggles
- Respirator mask
- Well-ventilated area
Acrylic paints have fewer harmful fumes than enamel paints. They’re safer for indoor use2.
Set up your workspace with good lighting. A clean surface ensures the best results for your diecast repainting project.
“Proper preparation is half the work. Invest in quality tools and materials to achieve a professional finish on your diecast models.”
How to Paint a Diecast Car: Preparation Process

Preparing your diecast car is vital for a great paint job. This step lays the groundwork for a stunning model car restoration.
Disassembly and Parts Organization
Start by taking your diecast car apart carefully. Remove all detachable parts and store them in labeled containers. Be gentle with plastic parts and windows to avoid breaking them4.
Paint Stripping Techniques
Use a metal-safe paint remover to strip the old paint. Soak the car body for about 15 minutes. Then, gently scrub off the loose paint with a soft brush.
Surface Preparation and Cleaning
Smooth the surface with 150-250 grit sandpaper. This creates an even base for new paint. Use body filler for deep scratches or dents.
Clean the car body with dish soap and water. This removes residue and helps the new paint stick better5.
Priming the Surface
Apply 2-3 coats of quality primer. Let each coat dry fully. This step ensures a smooth finish and better paint durability.
Use a bent coat hanger to hold the car while spraying. This helps you get even coverage5.
| Step | Tool/Material | Purpose |
|---|---|---|
| Disassembly | Small screwdriver | Careful part removal |
| Paint Stripping | Paint remover | Remove old paint |
| Surface Prep | Sandpaper (150-250 grit) | Smooth surface |
| Cleaning | Dish soap, water | Remove residue |
| Priming | Quality primer | Prepare for painting |
Your diecast car is now ready for its new paint job. Take your time and pay attention to details. This prep work is key to a pro-looking restoration.
Paint Application and Finishing Techniques
Mastering paint techniques is key for stunning automotive miniatures. Your paint choice impacts the final result. Rustoleum UltraCover 2x spray paint offers great coverage for many cars.
Tamiya enamel paints come in various colors for detailed work. These are suitable for different car parts.
Proper Spray Painting Methods
Hold the spray can 12 inches away and use smooth motions. Apply thin coats to keep intricate details intact. Acrylic paints allow color mixing but may show brush strokes.
Enamels provide smoother finishes and authentic automotive colors. Use a tiny brush for precise application on small areas like headlamps.
Multiple Coat Application
Let each layer dry fully before adding the next. Enamel paints can take 1-3 days to dry. Acrylic lacquers dry in 30 minutes but need a day to finish.
Most model car painters apply multiple coats for a flawless finish. Follow a 7-step process from base coat to final clear coat.
Clear Coat Application for Protection
Apply a clear coat to protect your paint job. Use light coats to avoid pooling or running. Many enthusiasts use clear coat and wax for a pro look.
Allow 12-24 hours drying time between coats. This ensures a durable and attractive finish on your automotive miniatures678.
FAQ
What type of paint is best for diecast cars?
How do I strip the original paint from a diecast car?
How many coats of paint should I apply to my diecast car?
What’s the best way to achieve a smooth finish when painting a diecast car?
How long should I wait between coats when painting a diecast car?
Can I use an airbrush to paint my diecast car?
How do I protect the windows and other details when painting a diecast car?
What’s the best way to fix paint mistakes on a diecast car?
Source Links
- A Detailed Guide to Painting Diecast Car Models – https://livecarmodel.com/blog/a-detailed-guide-to-painting-diecast-car-models/?srsltid=AfmBOoorHwvB_m_FkWvtw8MjgpeCleyfAKYFx3srKpY__ZHHW5CW0V5F
- How to Paint Model Cars: Painting Tips & Guide – https://www.autoworldstore.com/blogs/tips-tricks/guide-to-painting-your-model-car?srsltid=AfmBOorjwZLj_GUS5mwKzOefLUoBKjxb5QudQtnkcbLEfuAbjE9ZDdhQ
- Model Car Tips – Painting – http://www.modelcartips.com/painting.html
- How to make a 1/24 custom start to finish – https://www.diecastcrazy.com/threads/how-to-make-a-1-24-custom-start-to-finish.88775/
- Die cast body prepping – https://dadscustomhotwheels.weebly.com/body-prepping.html
- How to custom paint Hot Wheels diecast cars – https://www.redlinederby.com/topic/how-to-custom-paint-hot-wheels-diecast-cars/1
- How to Detailing Your Die-cast Lamps Looks Glass With Tamiya Enamel Paint | Artfans Design – https://www.artfans.info/how-to-detailing-your-die-cast-lamps-looks-glass-with-tamiya-enamel-paint/
- How to Paint Model Cars: Painting Tips & Guide – https://www.autoworldstore.com/blogs/tips-tricks/guide-to-painting-your-model-car?srsltid=AfmBOoq_fQMW-OeQqJdqT9ebewEMOMAPgZSmSh86WIWvT9XbnnuzJf2C
Related diecast posts:
 How to Paint Diecast Cars – A Complete Guide
 How to Custom Paint Diecast Cars – Expert Guide
 How to Paint 1 18 Diecast Cars: A Step-by-Step Guide
 Can You Paint Diecast Cars with Auto Paint? Step by Step
 Best Paint Guide for Diecast Models: Expert Tips
 Changing Lettering Color on Diecast Vehicles: A Guide
Great guide, but curious to know whether acrylic or enamel paints give a more authentic finish to diecast cars? Any insights?
Has anyone tried using nail polish remover for paint stripping? Wondering if its less harsh than typical strippers.
Nail polish remover for stripping paint? Thats a disaster waiting to happen!
Interesting guide, but does anyone think using acrylic paint over enamel could give a more authentic finish to the diecast car?
Definitely not! Acrylic over enamel? Thats a surefire way to ruin your diecasts finish.