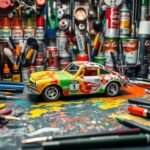
Are you into cars and want to make your 1:18 scale diecast car collection stand out? Customizing these small models is a fun and creative hobby. It lets you make them your own and even increase their value. But, where do you begin? This guide will show you how to paint 1:18 diecast cars, from getting ready to the final touch.
Key Takeaways
- Factory paint is often thick and uneven, making it necessary to strip the existing paint for better results.
- Brake fluid is a effective method for removing paint from the car body, which can take a day or two to complete.
- Priming the car body with a light gray primer is recommended before repainting.
- Proper spray painting techniques, such as holding the can 12 inches away, are crucial for achieving an even, professional-looking finish.
- Allowing at least 12 hours of drying time between coats of paint is advised to avoid issues like cracking or blistering.
Essential Tools and Materials for Diecast Car Painting
To paint custom 1/18 scale finishes on diecast cars, you need the right tools and materials. Choosing the right paint and setting up a safe workspace are crucial. This ensures your work looks professional.
Paint Types and Selection Guide
There are several paint options for diecast car painting. Acrylic paints are water-based and easy to use, great for beginners. Enamel paints give a glossy finish like real car paint. Automotive paints are durable but need advanced airbrush skills.
Required Safety Equipment
When painting, safety is a top priority. Always wear gloves and a mask to avoid harmful fumes. A clean, well-lit, and well-ventilated workspace is also key for your health and quality work.
Workspace Setup and Ventilation
Setting up the right environment for painting is crucial. Choose a clean, well-lit area with good ventilation. Using a painting booth or working near an open window helps keep air fresh. A proper workspace setup keeps you safe and helps you achieve a professional finish.
Investing in the right tools, materials, and safety measures is important. This will help you create stunning custom 1/18 scale finishes. Take your time, practice, and experiment to improve your airbrush skills.
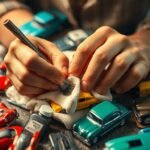
How to Paint 1 18 Diecast Cars: Preparation Process

Starting a diecast car restoration and model car paint prep means getting ready well. First, take apart the car and remove all parts. This leaves only the metal shell. Store small parts in sealed bags to avoid losing them.
To remove old paint, soak the body in brake fluid for 1-2 days. Then, clean it with a brush. Make sure to wash and dry the body well to get rid of brake fluid. Don’t touch the body with your bare hands because oil from your skin can ruin the paint.
Use a bent coat hanger to hold the body while painting. This helps paint cover evenly. Apply primer in thin layers, letting each layer dry before adding more. Good preparation is crucial for a professional finish. It helps the paint stick better and makes the final look smoother.
| Step | Description |
|---|---|
| Disassembly | Remove all parts until only the metal shell remains, storing small components in sealed bags. |
| Paint Stripping | Soak the body in brake fluid for 1-2 days, then clean with a brush and thoroughly wash and dry to remove residue. |
| Handling | Avoid touching the body with bare hands to prevent oil transfer, use a bent coat hanger to hold the body during painting. |
| Priming | Apply primer in thin, even coats, allowing sufficient drying time between applications. |
By carefully following these steps, you’ll be ready for a perfect diecast car restoration and model car paint prep. Your work will truly stand out.
“Preparation is the key to a professional-looking finish when painting diecast car models.”
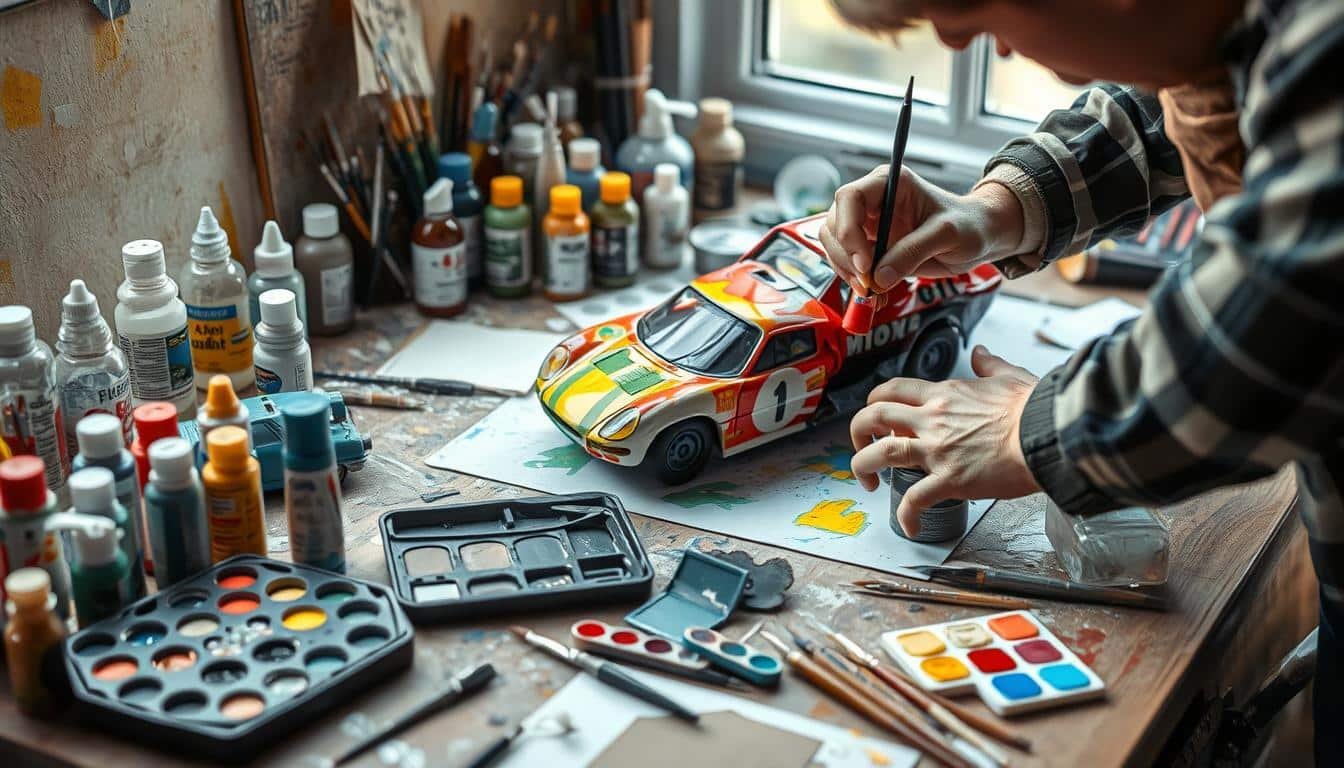
Professional Painting Techniques and Application
To get a top-notch finish on your 1:18 diecast cars, you need to learn some painting tricks. First, keep the spray can about 12 inches (30 cm) away from the car. Start spraying before you hit the car and move in a smooth, sweeping motion. This helps you get an even coat without messing up the details.
Proper Spray Painting Methods
It’s better to use thin coats of paint rather than one thick one. This method gives you better coverage and a smooth finish. Make sure to wait at least 12 hours between coats for the paint to dry completely. For small details like logos or stripes, use small brushes or tape to get sharp lines.
Achieving Even Coverage
Getting an even coat is crucial for a perfect paint job. Take your time and paint in light, even strokes. Make sure to cover the whole car and slightly overlap each stroke. Remember, getting it right takes patience and practice.
Drying Times and Multiple Coats
Let the paint dry fully before adding more layers. The drying time depends on the paint type, but always wait at least 12 hours. For extra shine and protection, apply a clear coat after the last color coat dries.
By using these professional painting tips, you can turn your 1:18 diecast cars into amazing pieces. They’ll make your diorama display look like a museum exhibit.
Conclusion
Painting 1:18 diecast cars is a fun hobby that lets you express your creativity. It also makes your model car collection more valuable. With the right steps, even newbies can get great results.
Make sure to paint in a well-ventilated area and wear protective gear. Be patient as you learn. As you get better, try out new designs and techniques. This way, you can make your diecast cars truly unique.
Displaying your painted models is key. Use clean spaces, good lighting, and protective cases. This will show off your hard work and creativity.
Painting diecast cars is a favorite hobby for many. It’s a chance to show off your artistic skills and attention to detail. With the right tools and techniques, you can turn ordinary models into amazing pieces that will wow others.
FAQ
What are the benefits of painting 1:18 diecast cars?
What types of paint can be used for diecast car painting?
What essential supplies are needed for diecast car painting?
How should the car be prepared before painting?
What are the best practices for applying paint to diecast cars?
How can the painted model be protected and displayed?
Source Links
- How to Paint Over a Diecast Car: 12 Steps (with Pictures) – https://www.wikihow.com/Paint-Over-a-Diecast-Car
- A Detailed Guide to Painting Diecast Car Models – https://livecarmodel.com/blog/a-detailed-guide-to-painting-diecast-car-models/?srsltid=AfmBOorWKVOu_I5VeZeWPz9ibUMRZeCAtjKfnlS1ISaUhfDHYV3m4OzV
- How to Paint Model Cars: Painting Tips & Guide – https://www.autoworldstore.com/blogs/tips-tricks/guide-to-painting-your-model-car?srsltid=AfmBOooAnLSYyxzitGwvVNHAAZs5iI8xc5syfAdD5aOw2HFL0bLCTLdW
- How to Modify a Die-Cast Car – https://www.instructables.com/How-to-Modify-a-Die-Cast-Car/
- A Detailed Guide to Painting Diecast Car Models – https://livecarmodel.com/blog/a-detailed-guide-to-painting-diecast-car-models/?srsltid=AfmBOoriayC-g1qiYmjk_MOHXladqgJ-bOxbkbMOiAJ2EWF5a6V4lGU9
- How to Paint Model Cars: Painting Tips & Guide – https://www.autoworldstore.com/blogs/tips-tricks/guide-to-painting-your-model-car?srsltid=AfmBOopwQsfkO5KhA8t23yeVWwOxstrUl4rFZxceiT5xniKKOg0j80bx
- A Detailed Guide to Painting Diecast Car Models – https://livecarmodel.com/blog/a-detailed-guide-to-painting-diecast-car-models/?srsltid=AfmBOoq_PmhKfD_oXnC4TJ2nHc2UK6AQNcfez-UamEwC8Q6HMjQyNwcE
- How to custom paint Hot Wheels diecast cars – https://www.redlinederby.com/topic/how-to-custom-paint-hot-wheels-diecast-cars/1
- How to Paint Model Cars: Painting Tips & Guide – https://www.autoworldstore.com/blogs/tips-tricks/guide-to-painting-your-model-car?srsltid=AfmBOopL6a0TxM2nfSXOIUQfqxLwL5Euxgw0YM5q2HxotuU5YSX3h2xd
- A Detailed Guide to Painting Diecast Car Models – https://livecarmodel.com/blog/a-detailed-guide-to-painting-diecast-car-models/?srsltid=AfmBOoqZ46YsihQOD7DMLbCkrkPVlaR5wLwveEXsXxDYUZFpIviSo9A0
- A Guide to Master Diecast Car Customization – https://lasertransfersupplies.com/blogs/articles/guide-to-master-diecast-car-customization
- How to Customise Die Cast Cars – https://www.model-car-world.co.uk/blog/post/HowtoCustomiseDieCastCars
- DIY Guide to Restoring & Customizing 1:18 Scale Die-Cast Model Cars – https://diecastcars.us/118-scale-diecast-model-cars/?srsltid=AfmBOopb-miPKeNDFsVtozszRFGhqKSaSYv6KoJee4xpwWk9tOK9qQUm