LED lighting kits for RC cars offer various LED types with unique voltage needs. These range from 1.7V to 5V1. This variety creates exciting possibilities for diecast car lighting fans.
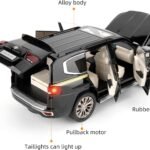
Model car illumination has evolved significantly. LED installation in diecast cars enhances realism and appeal. With proper tools and knowledge, you can bring static models to life.
RC car makers are embracing this trend. Traxxas now includes LED lighting in their latest XL-5 powered models. This includes popular lines like Bandit®, Stampede®, and Rustler®2.
This guide covers LED installation in diecast cars. You’ll learn about suitable LEDs for different effects and essential components. We’ll provide step-by-step instructions for a pro-looking setup.
You’ll discover how to add headlights, taillights, and dynamic lighting features. This DIY guide will help you brilliantly illuminate your diecast collection.
Key Takeaways
- LED lights enhance the realism and visual appeal of diecast cars
- Various LED types are available for different lighting effects
- Essential components include LEDs, resistors, wires, and power sources
- Basic soldering skills and understanding of polarity are crucial
- Proper wire management ensures a clean, professional look
- LED lighting is becoming a standard feature in many RC car models
- Installation can typically be completed in 15-30 minutes of bench time2
Understanding LED Types and Components for Diecast Models
Lighting model vehicles needs careful LED selection. The right choice can make your diecast cars stunning miniature masterpieces. Let’s explore the key elements for creating eye-catching model car lighting kits.
Types of LEDs Suitable for Model Cars
Surface Mount LEDs offer a wide 125-degree viewing angle. They need a minimum drive current of 350mA. 5mm LEDs max out at around 30mA.
High-power LEDs handle currents from 350mA to 3000mA3. White LEDs come in 3000K, 4000K, 5000K, and 6500K color temperatures3.
Essential Tools and Materials
You’ll need a soldering iron, wire cutters, and heat shrink tubing. Consider #38 coated magnet wire or #30 insulated wrapping wire4.
These tools are crucial for wiring diecast cars safely and effectively.
Power Requirements and Battery Selection
LEDs are DC devices and need a “limiting” resistor to prevent burnout4. 9V batteries with 220-ohm resistors are common choices for model car kits.
In a series LED circuit, LED voltages shouldn’t exceed 90% of supply voltage4. This ensures stable light output.
Wiring Components and Connectors
Use single-pole, single-throw (SPST) switches for simple on-off functions. SPDT switches allow routing between two different circuits4.
In parallel circuits, voltage stays constant while current divides. In series circuits, current remains the same, but voltage divides4.
This knowledge helps create dynamic and reliable lighting systems for your diecast models4.
How to Install LED Lights in Diecast Cars

LED lights can make your diecast car shine. This guide shows you how to add these lights to your model. You’ll learn to create a eye-catching display piece.
Preparing Your Diecast Model
First, decide where to put the LEDs. LED strip lights work well for model cars. They’re easy to use and bend.
Soldering Techniques for LED Installation
Good soldering is key for a stable LED setup. Start by “tinning” your wires. This means coating them with solder first.
Use rosin to help solder stick better. For installing leds diecast models, be precise.
Wire Routing and Management
Cut wires to the right length to avoid mess. Use colored shrink tubing to organize wiring.
For underbody LED kits, secure strips every 12 inches. Use zip ties for long-lasting results5.
Mounting LED Components
Hot glue works well in tight spaces. Use CA+ glue for stronger holds. For complex setups, make custom mounting plates.
Test LED polarity with a 9V battery before final install. This prevents damage.
- Use hot glue for quick, temporary fixes
- Apply CA+ glue for permanent installations
- Create custom mounting plates for intricate designs
Bigger models may need larger LEDs like E12 or E17 bulbs. Small diodes suit miniatures, often using 3.3V button batteries6.
Choose LED types based on your model’s size and details.
“The key to successful LED installation is patience and precision. Take your time to plan and execute each step carefully.”
Place the control module in a dry, cool spot. This ensures it lasts longer. Extend the antenna for better signal.
Always test your setup thoroughly5. These steps will help you create pro-looking LED lights in diecast models.
Advanced Lighting Features and Controls
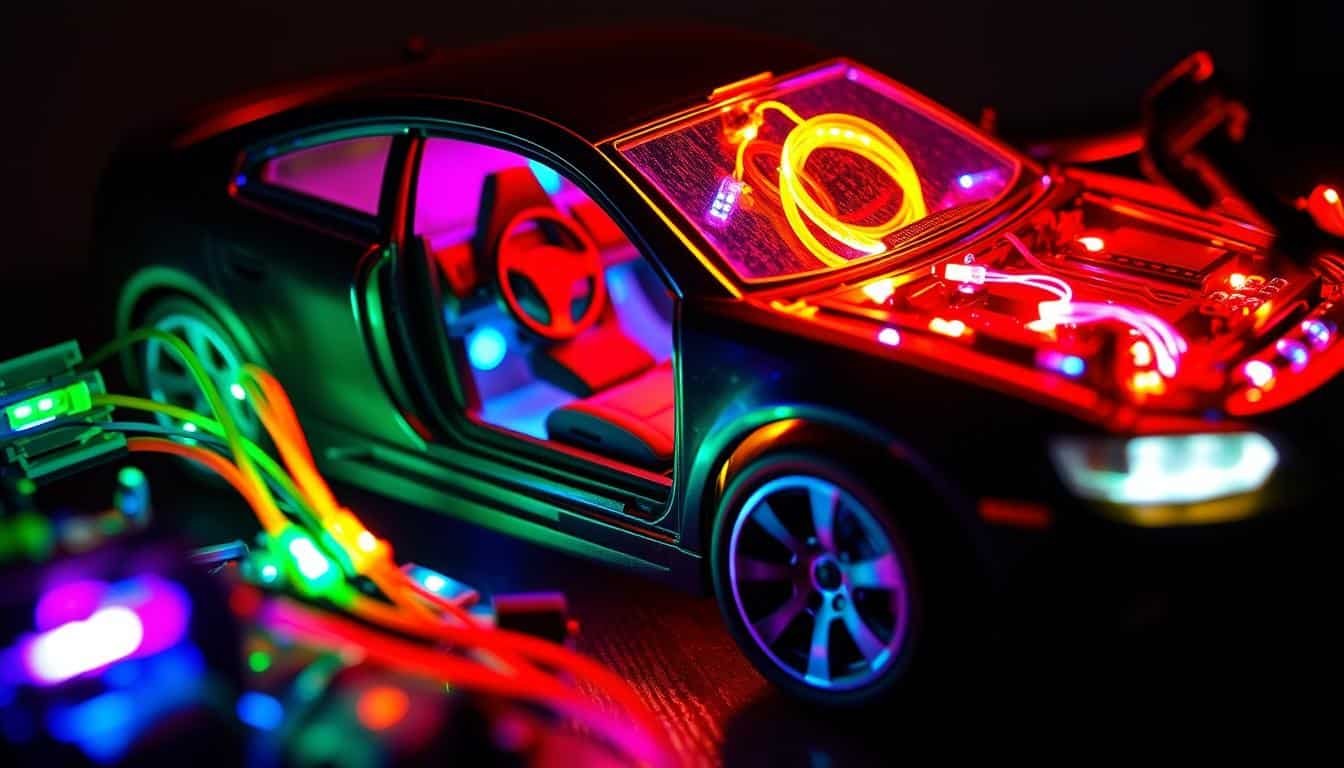
Model car LED lights offer exciting options. Modern systems enhance visibility, safety, and looks. Puddle lights, rock lights, and underglow effects can boost your miniature masterpiece7.
Installing Multiple Light Functions
Expand your diecast car’s lighting with various functions. TRX-4 trail trucks boast a full-function Pro Scale LED system8. This setup includes turn signals and flashing police lights.
Choose auxiliary lights based on purpose, brightness, and beam pattern. These factors ensure the best results for your model7.
Adding Control Switches and Circuits
Control switches allow precise lighting management. LEDGlow offers interior kits with wireless remotes and sound activation9. These features let you adjust your car’s ambiance.
TRX-4 trucks use special cables for their Pro Scale Lighting System. This ensures smooth operation with the receiver8.
Programming Options for Dynamic Lighting
Some LED kits offer 18 solid colors and 7 lighting effects. This allows for creative customization of your model9.
For complex patterns, try using microcontrollers like Arduino. This opens up endless possibilities for your model car lights.
Troubleshooting Common Issues
Check for proper polarity and secure connections if issues arise. Ensure consistent brightness across all lights. Regular cleaning and maintenance prevent many problems7.
If issues persist, consult the manufacturer’s guide. You can also seek help from hobby communities specializing in model car LEDs.
FAQ
What types of LEDs are best for diecast car lighting?
What tools do I need to install LED lights in my diecast model?
How do I determine the power requirements for my LED setup?
What’s the best way to prepare my diecast model for LED installation?
Can you explain the soldering technique for LED installation?
How should I manage wire routing in my diecast model?
What are the best mounting options for LEDs in tight spaces?
How can I add advanced lighting features to my diecast model?
What programming options are available for custom lighting sequences?
What should I do if my LEDs aren’t lighting up after installation?
Source Links
- LEDs for Beginners – https://www.instructables.com/LEDs-for-Beginners/
- How to Install LED Lighting – https://m.traxxas.com/news/how-to-install-led-lighting
- Basics of High Power LED Lighting – https://www.ledsupply.com/blog/what-you-need-to-know-about-leds/?srsltid=AfmBOori8g6xzEKrQ9xEau9yV0iAu-MlXXvvqbIwnOVUqdxRHlj1Abay
- LED_circuits – https://www.ngineering.com/led_circuits.htm
- Under Car LED Underbody Light Kit Installation Guide – https://store.ijdmtoy.com/pages/under-car-led-underbody-light-kit-installation-guide
- How to Install LED Strip Lights in 3D Prints – https://www.gambody.com/blog/how-to-install-led-lights-in-a-3d-printed-model/?srsltid=AfmBOoqlJ1xuI33x40ttia-o7GEJPvZcuH44j3y72S-BlxBsv2qx8yE5
- Auxiliary Lighting: The Ultimate Guide to Enhance Your Visibility – https://undergroundlighting.com/blogs/headlight/auxiliary-lighting-complete-guide?srsltid=AfmBOoof15fWzB-LbfI6Jf2G9f9eW08bHmklte2oqwacqt7nRhsYHGKT
- How to Install Traxxas Pro Scale Lighting with Telemetry in Your TRX-4 – https://m.traxxas.com/news/how-to-install-pro-scale-lighting
- LED Interior Lights for Cars and Trucks – https://www.ledunderbody.com/led-interior-light-kits/?srsltid=AfmBOorw6ZYAATrRUcOiTnUhL6e7JfjEU8axeGtLPdyQJO-WOzy1yA4-