Hobbyists worldwide share valuable repair tips for diecast metal models. This expertise spans from Hong Kong to Berlin, Killeen, and Worthing1. Mastering diecast repair techniques is vital for maintaining your collection’s value and appearance.
Diecast metal restoration blends precision, patience, and proper tools. This guide covers essential steps for diecast vehicle fixes. You’ll discover how to revive models, from classic cars to modern aircraft replicas2.
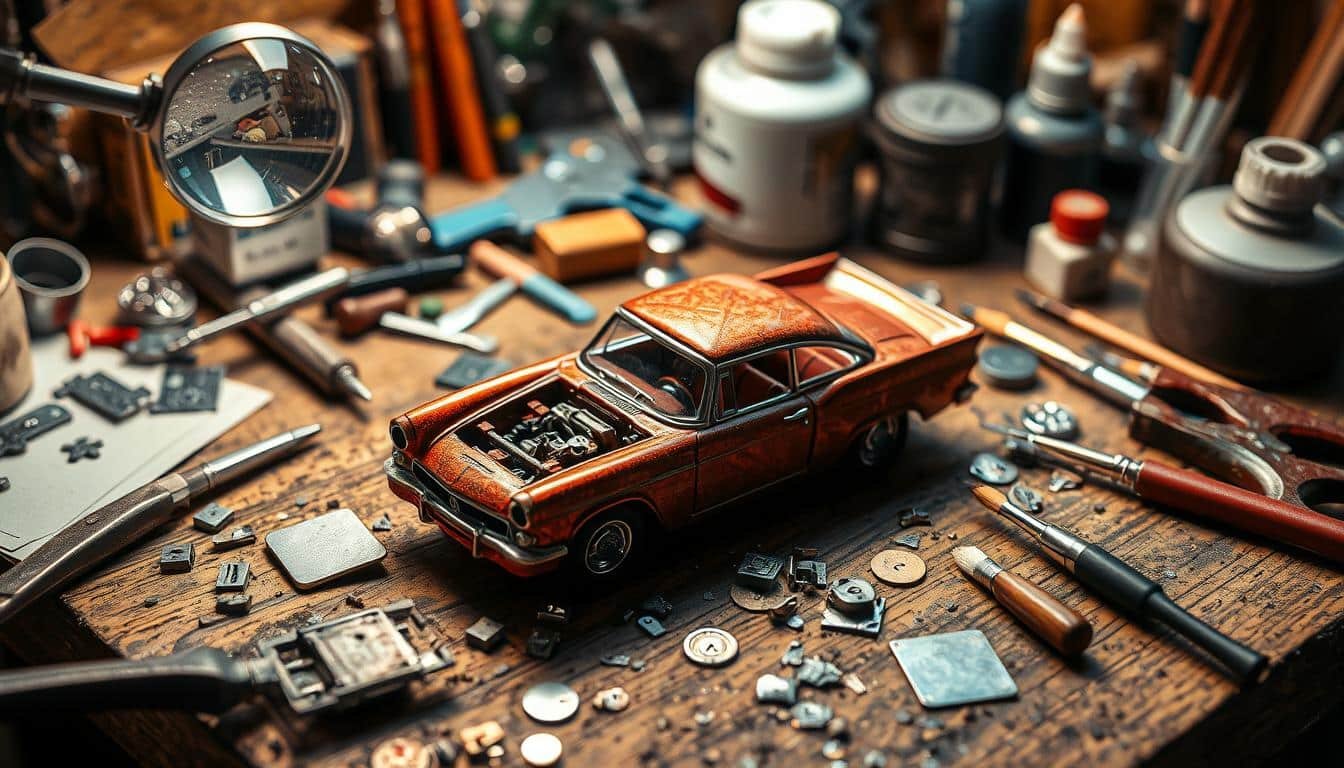
Learn to transform damaged collectibles into showpieces. With the right methods, you can fix oxidation on aluminum surfaces. You can even perform custom modifications to enhance your miniature marvels.
Key Takeaways
- Diecast repair requires specialized tools and techniques
- Proper cleaning is essential before starting any restoration work
- Structural damage can often be fixed with careful sanding and filling
- Paint touch-ups are crucial for a professional-looking finish
- Protective coatings help maintain the restored diecast model’s condition
- Manufacturer support, like Hobby Master’s customer service, can be invaluable for sourcing replacement parts
- Custom modifications can add unique value to your diecast collection
Essential Tools and Materials for Diecast Restoration
Restoring vintage diecast models needs specific tools and materials. The right equipment is crucial for success. Let’s explore the essential items for your restoration projects.
Professional Restoration Equipment
You’ll need specialized tools for diecast restoration. These include Dremel tools, cordless drills, dental pick sets, and needle files3.
Small hammers and dent pullers are great for removing dents. A magnifying glass or loupe helps with precise work on intricate details.
Cleaning Solutions and Polishing Compounds
Proper cleaning is key in diecast paint repair. You’ll need mild detergents and specialized metal cleaners.
For paint removal, use aerosol “aircraft” paint stripper, brake fluid, or acetone3. Fine-grit sandpaper and metal polishing compounds create a smooth finish.
Safety Equipment and Workspace Setup
Safety comes first when restoring vintage diecast. Wear protective gloves and safety goggles to shield yourself.
Set up your workspace in a well-ventilated area with good lighting. A sturdy workbench and proper storage keep your projects organized.
| Tool Category | Essential Items | Purpose |
|---|---|---|
| Cutting Tools | Modeling knives, Dremel tool | Precision cutting and shaping |
| Adhesives | Super glue, epoxy, school glue | Repairing and attaching parts |
| Painting Supplies | Paintbrushes, markers, airbrush | Paint application and detailing |
| Repair Materials | Two-part epoxy, Bondo, filler putty | Filling gaps and repairing damage |
These tools and materials will equip you for challenging diecast restoration projects. Patience and attention to detail are key for professional-quality results.
How to Fix Diecast Metal: Step-by-Step Process

Diecast model restoration demands precision and proper techniques. This guide covers repairing broken parts and customizing diecast collectibles. Follow these steps to make your models shine like new.
Surface Preparation and Cleaning
Begin with a thorough cleaning of the diecast surface. Use mild soap for light dirt. Stronger solvents may be needed for tough grime.
Gentle cleaning preserves the original finish. This is especially important for oxidized aluminum surfaces4.
Repairing Structural Damage
For structural fixes, remove damaged filler and sand affected areas. Use modeling putty to reshape parts. Some collectors use hair dryers to remove components like nose cones.
Specialized products like Welco 52 or aluminum-specific epoxy work well for pot metal repairs4.
Paint Touch-ups and Finishing
Carefully match colors for paint touch-ups. Apply thin layers, letting each dry before adding more. This process needs patience and precision.
For a smooth finish, consider wet sanding between coats. This step ensures a professional-looking result.
Protective Coating Application
Use protective coatings sparingly to maintain the model’s balance. A thin, even layer protects your work without changing the diecast’s look.
This crucial step in customization ensures long-lasting results. It safeguards your hard work against future wear.
| Repair Step | Key Points |
|---|---|
| Cleaning | Start with mild solutions, progress if needed |
| Structural Repair | Use putty, specialized products for pot metal |
| Painting | Match colors, apply thin layers |
| Protective Coating | Apply sparingly, ensure even coverage |
Fixing diecast metal often requires special skills. TIG welding and precise heat control are vital for pro-level restorations4.
With patience and practice, you can restore your beloved diecast models. Soon, they’ll look as good as new.
Conclusion
Diecast metal restoration breathes new life into cherished collectibles. With the right tools and patience, you can transform damaged models into stunning showpieces. The diecast repair process involves careful preparation, fixes, and finishing touches.
Quality materials and precision are crucial. Aluminum die cast tooling offers great durability and accuracy. It’s perfect for making high-quality castings with consistent dimensions and smooth surfaces5.
The global die-casting market was worth $33.94 billion in 2020. It’s expected to grow 6.2% yearly from 2021 to 2028. This shows how important the industry is across various sectors6.
Focus on details throughout the restoration process. Regular mold maintenance is key for quality and efficiency. This includes cleaning, lubrication, and replacing parts6.
Porosity affects about 5% of a die casting volume. For this issue, think about professional solutions like vacuum impregnation. It can permanently seal pores7.
By using these expert tips, you’ll be ready to tackle even the toughest restoration projects. Your skills will improve, and you’ll create amazing results.
FAQ
What are common issues with diecast metal models?
What essential tools do I need for diecast restoration?
How do I clean a diecast model before repairs?
What’s the best way to repair structural damage on a diecast model?
How do I match paint colors for touch-ups?
Can I remove parts like nose cones from a diecast model?
How should I apply protective coatings to my diecast model?
Where can I find replacement parts for my diecast model?
How do I remove dents from a diecast model?
Is it possible to customize my diecast model during restoration?
Source Links
- Repairing diecast damage – DA.C – https://www.diecastaircraftforum.com/military-model-aircraft/320616-repairing-diecast-damage.html
- Repair and customize chrome plated die-cast pot metal trim – https://inthegaragemedia.com/custom-repair-die-cast-chrome-trim-pieces-advanced-plating-speedway/
- Restoration Handbook – The Vintage British Diecast Forum (VBD3) – http://www.vbd3.co.uk/viewtopic.php?t=29
- Pot metal (diecastings) repair for Plating – https://www.finishing.com/37/81.shtml
- Aluminum Die Cast Tooling: Types & Troubleshooting In Casting – https://castingod.com/aluminum-die-cast-tooling-types-troubleshooting-in-casting/
- Die Casting Mold Designing Tips | 7 Steps Guide From Expert – https://prototool.com/die-casting-mold/
- Porosity in Die Casting: How to Prevent Them – https://www.rapiddirect.com/blog/porosity-in-die-casting/
Related diecast posts:
 How to Clean Diecast Cars: Restore Your Collection
 Learn How To Diecast Metal: A Complete Guide
 Is Diecast Aluminum Safe: Your Guide to Safe Cookware
 What Are Diecast Cars Made Of – Material Guide
 How to Fix Broken Diecast: Expert Restoration Guide
 Does Diecast Metal Rust: Protecting Your Collection
Interesting read! But isnt the use of professional equipment for diecast restoration a bit overkill for just a hobby?
Just wondering, would adding a bit of DIY hack for cleaning solutions spice things up? Anyone tried something out of the box?