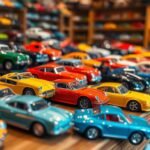
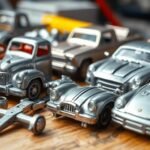
A whopping 95% of diecast car collectors have thought about custom painting their models. This trend shows how popular personalizing diecast cars has become. Custom painting diecast cars can turn your collection into a unique showcase of automotive art.
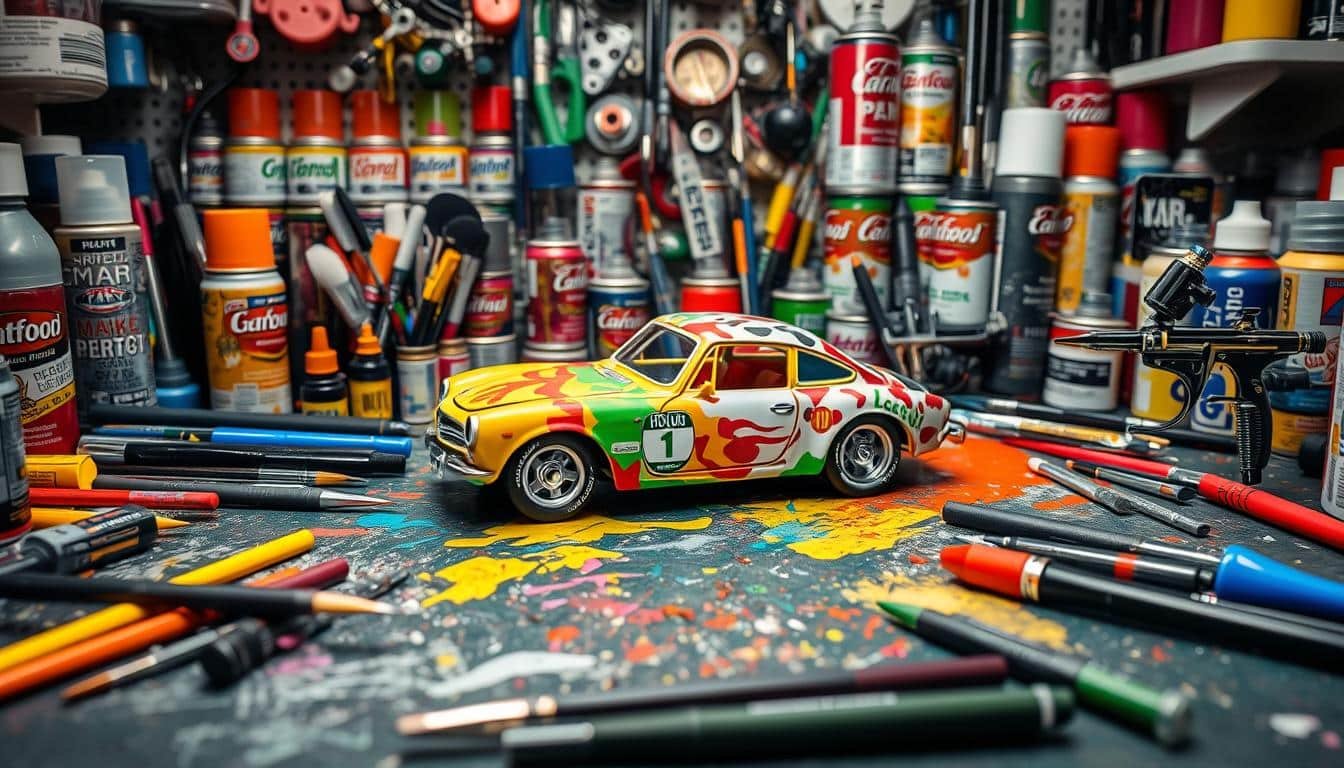
Diecast car painting is a skill that needs careful attention and patience. The process involves thorough prep work, from cleaning to priming. It also requires precision when applying paint.
To get pro-level results, you need to master specific techniques. These include spraying from the right distance and controlling temperature. Experts suggest painting below 70°F (21°C) for the best outcome1.
Repainting diecast models can give new life to old favorites. It also lets you create one-of-a-kind pieces. By following expert tips, you can avoid common mistakes like uneven paint or chipping.
Good custom painting starts with proper surface prep. This includes sanding with #400 grit sandpaper to help the primer stick1.
Here’s a key tip for diecast car painters: Don’t touch the model with bare hands while painting. Skin oils can ruin your hard work2. Use gloves instead.
Hold the spray can about 12 inches (30 cm) away from the car’s body. This helps ensure even coverage2.
Key Takeaways
- Custom painting transforms ordinary diecast cars into unique collectibles
- Proper surface preparation is crucial for a high-quality finish
- Temperature control affects paint application and drying
- Use gloves to prevent skin oils from interfering with the paint
- Multiple thin coats produce better results than a single thick layer
- Patience is key – allow sufficient drying time between coats
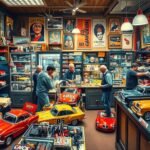
Essential Tools and Materials for Custom Diecast Painting
Diecast car customization needs careful tool and material selection. Let’s explore the essentials for creating stunning custom diecast finishes. These items will help you achieve professional-looking results.
Paint Selection: Choosing Between Acrylic and Enamel
Acrylic paints are perfect for diecast car detailing beginners. They’re water-based, making them easy to use and clean up3.
Enamel paints give a glossy finish that looks like real cars3. Automotive paints offer many shades to accurately copy any car model3.
Required Tools and Safety Equipment
High-quality brushes in various sizes are crucial for precise painting3. Rustoleum UltraCover 2x spray paint is popular, costing about $3 per can4.
Don’t forget protective gear like gloves and masks. These items guard against harmful chemical fumes3.
Surface Preparation Materials
Primer is key for creating a smooth base for paint to stick3. Apply two coats of primer before adding color. Each coat should dry within 15 minutes4.
You can find flat-gray spray primer at home or auto stores4. This type of primer works well for most projects.
Workspace Setup and Ventilation
Set up a well-ventilated area to avoid paint fumes. Apply thin, even coats of paint for best results3.
Allow plenty of drying time between each coat. For extra shine and protection, apply two clear coats4.
| Paint Type | Advantages | Best For |
|---|---|---|
| Acrylic | Easy to use, water-based, quick cleanup | Beginners, quick projects |
| Enamel | Glossy finish, durable | Realistic car finishes |
| Automotive | Wide range of shades, professional finish | Accurate model replicas |
How to Custom Paint Diecast Cars: Step-by-Step Process

Custom painting diecast cars demands patience and precision. This guide shows you how to transform your models with stunning paint jobs. You’ll learn the process step-by-step, from prep to finish.
Disassembly and Initial Cleaning
Start by carefully separating the body from the chassis. Freeze the hood and trunk to make pin removal easier. Watch out for small parts that might fly away during disassembly5.
Clean all components thoroughly with soap and water. This step removes any dirt or oils that could affect the paint job.
Surface Preparation and Priming
Gently sand the surface to create a smooth base for painting. Apply a primer to ensure better paint adhesion. Acrylic primers are user-friendly and easy to clean up6.
Let the primer dry completely before moving on. This step is crucial for a quality finish.
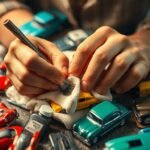
Paint Application Techniques
Choose between acrylic and enamel paints for your diecast model. Acrylic paints are water-based and great for beginners. Enamel paints offer a glossy finish for a realistic look6.
Apply paint in thin, even coats using a high-quality brush or airbrush. Popular Tamiya enamel colors include Clear Red, Clear Orange, and Silver Chrome7.
Clear Coat Application and Finishing
After the base color dries, apply a clear coat for protection and shine. Use Tamiya X-22 Clear for glossy or X-18 Semi Gloss Black for matte7. Allow enough drying time between coats for the best results6.
Reassembly and Final Touches
Once the paint fully cures, carefully put your diecast car back together. Test fit the chassis and make needed changes for the right stance or wheel fit5.
Consider a display case with glass doors to protect your masterpiece. This keeps dust and damage away from your newly painted model6.
| Paint Type | Advantages | Best For |
|---|---|---|
| Acrylic | Easy to use, water-based | Beginners |
| Enamel | Glossy finish, realistic look | Experienced painters |
| Automotive | Wide range of shades, durable | Professional finish |
Conclusion
Custom painting diecast cars transforms ordinary models into unique masterpieces. With the right tools and patience, you can achieve professional-quality upgrades. Always work in a well-ventilated space and use safety gear8.
Start by carefully preparing, disassembling, cleaning, and priming your model. Apply multiple thin coats for a smooth finish. Consider using an airbrush for precise details8.
For intricate designs, explore decal application using specialized printers like the iColor 560. This printer offers white toner printing capabilities9. Protect your custom finishes by applying a clear coat or varnish.
Custom diecast cars come in various scales like 1:18, 1:24, and 1:648. The principles remain the same regardless of the scale. Practice and attention to detail will help you create stunning custom diecast cars.
Remember, perfection takes time. Don’t get discouraged by initial setbacks. Each project will improve your skills. Soon, you’ll produce showroom-quality finishes that impress collectors and enthusiasts.
FAQ
What type of paint is best for custom painting diecast cars?
How do I prepare a diecast car for custom painting?
What is the ideal temperature for painting diecast cars?
How many coats of paint should I apply to my diecast car?
Do I need to use a clear coat after painting my diecast car?
How long should I wait before reassembling my painted diecast car?
What safety precautions should I take when custom painting diecast cars?
Can I use spray cans for custom painting diecast cars?
How do I achieve a smooth finish when custom painting diecast cars?
How can I fix mistakes or imperfections in my custom paint job?
Source Links
- Painting models – https://www.diecastxchange.com/threads/painting-models.69432/
- How to Paint Over a Diecast Car: 12 Steps (with Pictures) – https://www.wikihow.com/Paint-Over-a-Diecast-Car
- A Detailed Guide to Painting Diecast Car Models – https://livecarmodel.com/blog/a-detailed-guide-to-painting-diecast-car-models/?srsltid=AfmBOopqBprxHx4Qc3T1PMqFZDiTx7zBZtBtEjn7wVdcGuamzlJMZbIK
- How to custom paint Hot Wheels diecast cars – https://www.redlinederby.com/topic/how-to-custom-paint-hot-wheels-diecast-cars/1
- How to make a 1/24 custom start to finish – https://www.diecastcrazy.com/threads/how-to-make-a-1-24-custom-start-to-finish.88775/
- A Detailed Guide to Painting Diecast Car Models – https://livecarmodel.com/blog/a-detailed-guide-to-painting-diecast-car-models/?srsltid=AfmBOooSESrIZG2Xb31wuRcDVw7_VsBXHFs7KJpFigPm6La18dpyN4Od
- How to Detailing Your Die-cast Lamps Looks Glass With Tamiya Enamel Paint | Artfans Design – https://www.artfans.info/how-to-detailing-your-die-cast-lamps-looks-glass-with-tamiya-enamel-paint/
- Create Custom Die-Cast Models of Your Car: A Step-by-Step Guide – https://diecastcars.us/custom-die-cast-models-of-your-car/?srsltid=AfmBOoqkYfBLnKXkylinyK1-vA9nUscd0Ifs5Rb9V5DHNlXMtfMyvqob
- A Guide to Master Diecast Car Customization – https://lasertransfersupplies.com/blogs/articles/guide-to-master-diecast-car-customization

Just wondering, has anyone tried mixing acrylic and enamel paints? Could create some unique diecast car designs, right?
Enjoyed the guide, but really, arent enamel paints too toxic for such a hobby? Acrylic seems a safer bet. Just my two cents.
I get the guide, but honestly, isnt acrylic too weak for diecast cars? Bet enamels the real deal here. Thoughts?
Why not explore eco-friendly paints for diecast cars? Its high time we consider the environmental impact, dont you agree?