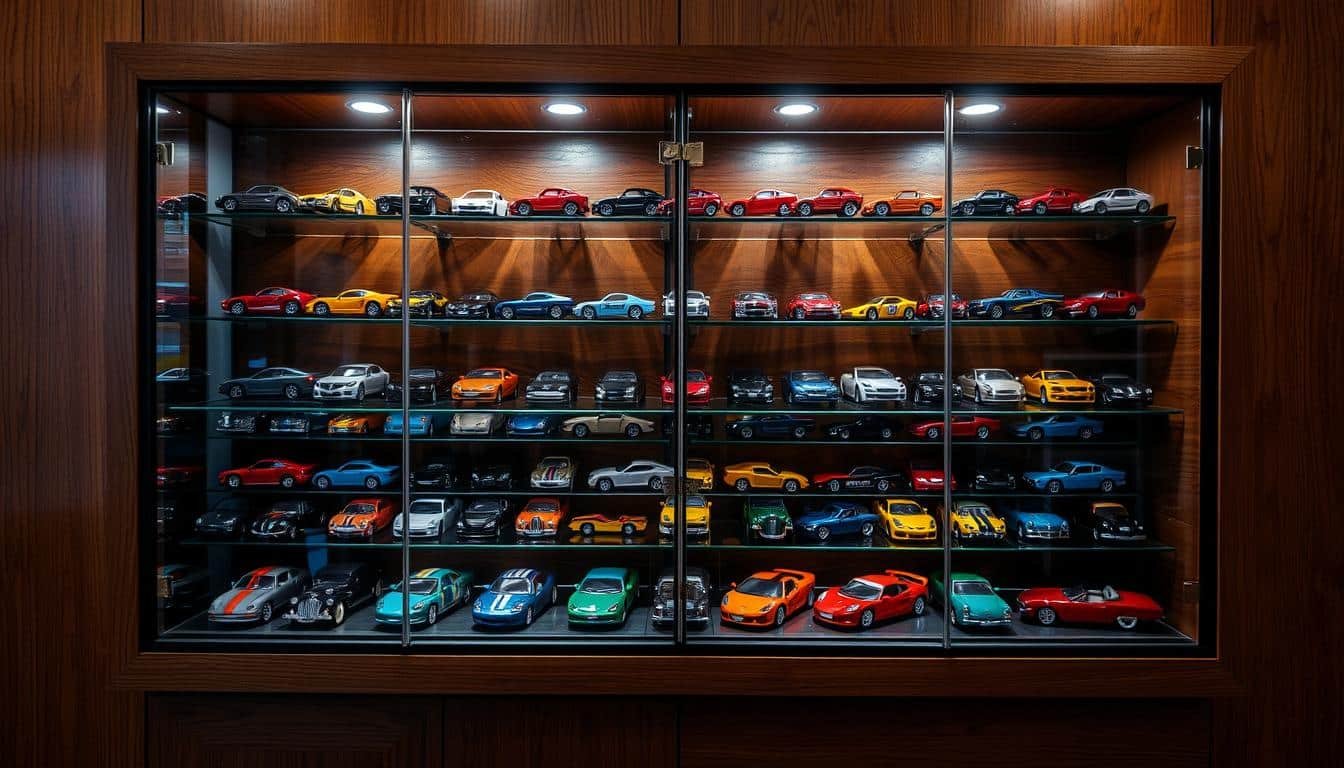
Are you a diecast model car collector looking for the best way to show off your collection? You’re in the right place! This guide will show you how to make a custom display case. It will protect and showcase your cars beautifully.
Model car collectors often face the challenge of limited space. A dedicated display case can solve this problem. By making a case that fits your collection, you can organize and display your cars neatly. This turns your hobby into a beautifully arranged exhibit.
Key Takeaways
- Create a custom display case to showcase your diecast car collection
- Design the case dimensions to fit your specific car sizes and collection needs
- Utilize 3D printing technology and transparent PLA material for a professional look
- Explore options for flat surface placement or wall mounting to maximize space
- Discover cost-effective DIY solutions to protect and preserve your prized models
Essential Materials and Tools for Your Display Case Project
Building the perfect acrylic display box for your toy cars or scale models needs the right stuff. You might want something simple or a custom piece. Knowing what you need will help you succeed.
Required Building Materials
Here are the main parts for your display case:
- 3/4″ x 5″ wood planks for the frame
- L-brackets for extra support
- Nails or wood screws to put it together
- Wood putty for filling gaps
- Wood stain or paint for the look
- Wall screws for hanging it up
- Plexiglas or acrylic sheets for the front
For a cheaper option, use basswood planks, poster paper, a narrow hinge set, wire brads, and clear Plexiglas.
Necessary Tools List
Here’s what you’ll need to make your display case:
- Ruler or measuring tape
- Pencil for marking
- Drill for holes and screws
- Screwdriver for putting it together
- Utility knife or scissors for Plexiglas
- Motor tool or sandpaper for finishing
- Hammer for nails or brads
- Stapler for the back panel
You might also want CA glue, thin brass sheet, and wood sealer. These can make your acrylic display box, toy car storage, scale model organization, or hobby display solutions look and last better.
“The right tools and materials are crucial for creating a professional-looking and sturdy display case for your prized collection.”
How to Make a Diecast Car Display Case: Step-by-Step Construction

Building a custom display case for your diecast cars is a fun project. It lets you show off your collection in style. You can choose from wood or 3D printing. The steps are easy and need basic tools and materials. Let’s get started on making your own diecast model display case.
Wooden Display Case Construction
First, measure and cut the wood planks to the right size. Use 1×6 boards for the frame and 1×4 boards for the shelves. Put the frame together with L-brackets or nails for strength.
Then, sand the wood and stain or paint it to match your taste. Add a background, like a poster board or thin wood, to the back. This makes a clean look for your models. Finally, attach a hinged Plexiglas cover to protect your collection from dust and damage.
3D Printed Display Case Assembly
If you have a 3D printer, you can design your own display cases. Use transparent white PLA material for a sleek look. Make sure the bed is right for long prints to avoid problems.
After printing, put the case together as designed. Pay close attention to detail for a professional finish. Sand the 3D printed parts well before assembly for a smooth surface.
| Material | Recommended Specification |
|---|---|
| Wood for Frame | 1×6 boards |
| Wood for Shelves | 1×4 boards |
| Plexiglas Thickness | 1/4″ or greater |
| Backing Material | 1/4″ luan plywood |
| Adhesive for Plexiglas | Silicone caulk |
Choosing either method, you’ll end up with a beautiful display case. It will showcase your diecast models in a stunning way.
Conclusion
The DIY diecast car display case is a great way for collectors to organize and show off their model cars. You can choose between 3D printing or traditional woodworking. Either way, you’ll get a display that looks professional and keeps your cars safe.
This custom storage solution lets you design it to fit your needs and space. So, your diecast cars will look their best.
Protecting your model cars from dust, moisture, and damage is key. A good display case does just that. It also makes your cars look amazing, especially the Elite 64 – Mercedes-Benz 300 SL.
Building your own model car showcase means you meet your collectible car protection needs. It also shows off your personal style and love for these tiny cars. So, go for it and make a display case that makes you proud. It will keep your diecast cars looking great for years.
FAQ
What materials are needed to make a DIY diecast car display case?
What tools are necessary for this project?
How do I design and construct the diecast car display case?
What are the benefits of a DIY diecast car display case?
Source Links
- A 3D Printed Model Car Display Case – https://www.instructables.com/A-3D-Printed-Model-Car-Display-Case/
- Great Display Case for Less than $15 – http://italianhorses.net/Tutorials/Display/dcase.htm
- DIY Project: Acrylic Display Case (with instructions) – https://makesharelearn.wordpress.com/2014/09/13/diy-project-acrylic-display-case/
- Hot Wheels Display Cabinet | DIY PLANS – Simple Assembly | The Woodworker’s Plans – https://thewoodworkersplans.com/product/hot-wheels-display-cabinet-diy-plans-simple-assembly/
- Because you asked, here is what I use to store and display my collection… – https://lamleygroup.com/2016/07/06/because-you-asked-here-is-what-i-use-to-store-and-display-my-collection/
- make your own display case – FineScale Modeler – https://cs.finescale.com/fsm/modeling_subjects/f/7/t/86302.aspx
- Display Case Construction – https://www.toytrains1.com/display_case_construction.htm
- How to Display Diecast Cars: A Collector’s Guide – https://www.deskperfection.com/blog/how-to-display-diecast-cars-a-collectors-guide/
- Choosing the Right Display Case for Model Cars | MYDIECASTCARS – https://www.mydiecastcars.com/choosing-the-right-display-case-for-model-cars/?srsltid=AfmBOoq4WCL5Qks5ih21WkQoQaiCWWMq0WBoNsQuVro4uTK1y9SrkVrf


Guys, why not reuse an old bookshelf for a diecast display? Save materials, time, and still looks vintage cool!
Nice guide, but why spend so much time DIY-ing when Ikea has affordable displays? Is DIY really worth the effort?