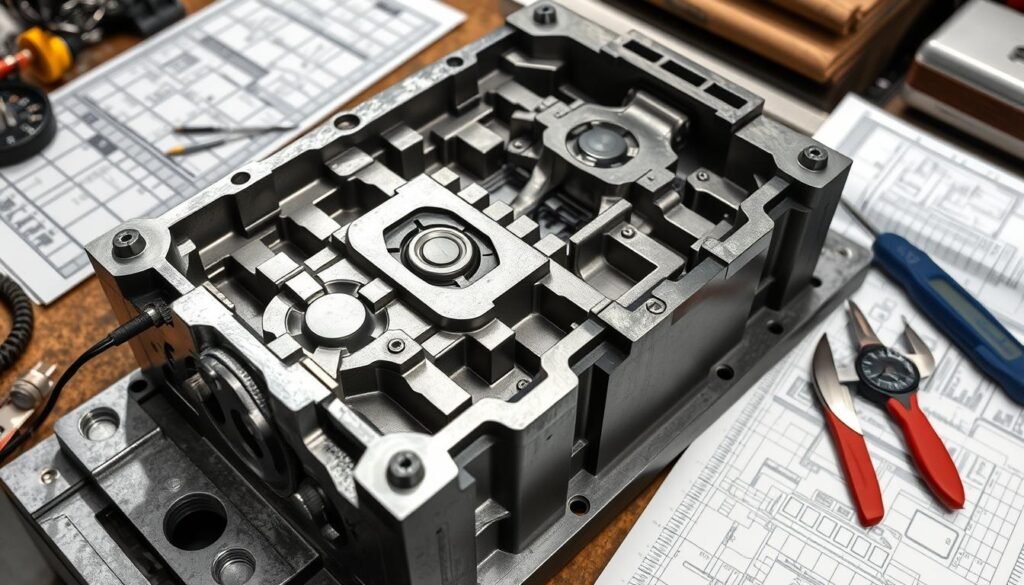
Ever thought about making your own custom diecast molds at home? It might seem hard, but with the right tools and skills, you can do it. This guide will show you how to make your own diecast mold. You’ll learn the secrets to making professional-quality molds in your own workshop.
Key Takeaways
- Discover the essential tools and materials needed for diecast mold making
- Learn the fundamentals of mold design and how to create a custom pattern
- Master the silicone pouring and curing process for a flawless mold
- Understand the techniques for safely demolding and preparing your mold for casting
- Explore the machining processes involved in diecast mold fabrication
Essential Tools and Materials for Diecast Mold Making
Making a top-notch diecast mold needs the right tools and materials. You’ll need precision measuring tools and special safety gear. Each item is key to making great molds.
Required Tools and Equipment
Diecast mold making uses many tools, such as:
- Measuring devices: Calipers, micrometers, and rulers for exact sizes.
- Cutting tools: Saws, files, and sanders for mold shaping and finishing.
- Mixing containers: Vessels for mixing mold materials like silicone.
- Vacuum chambers and vibration tools: These help remove air bubbles from silicone, making the mold better.
Selecting the Right Materials
The materials you choose for your mold are very important. Here are some good options:
- Oomoo 30 Silicone: Easy to use, affordable, and cures fast for detailed, strong molds.
- Aluminium: Great for precise molds because it’s good at conducting heat, strong, and cost-effective.
- Steel: Very durable and can handle high heat for making strong molds.
Safety Equipment and Precautions
Working with diecast molds can be dangerous. So, wearing the right safety gear is crucial. You’ll need:
- Gloves: Protect your hands from chemicals and sharp objects.
- Goggles: Keep your eyes safe from debris and splashes.
- Respirators: Protect against harmful fumes and particles.
- Proper ventilation: Good airflow helps avoid harmful substance exposure.
With the right tools, materials, and safety gear, you can make amazing diecast molds. These molds will be precise and meet high quality standards.
Understanding Mold Design Fundamentals

Creating a top-notch diecast mold needs a solid grasp of key principles. From the shape of the cavity to draft angles and parting lines, each detail is vital. They all work together to make precise diecast molds and parts of consistent quality.
The shape of the mold cavity is a major focus. It must allow molten metal to flow smoothly, avoiding air pockets or cold laps. Draft angles help parts come out easily, preventing blemishes.
Where the mold halves meet, called parting lines, is also crucial. These lines are planned to improve the making process and part quality. The design of the runner system, including gates and overflow, controls metal flow and reduces defects.
Using flow simulation in diecast mold design is very helpful. It helps make the mold design better, ensuring metal flows well and heat is evenly distributed. This leads to faster cycles and better part quality, with less chance of die cracking.
Knowing these mold design basics is key for making precise diecast molds. It’s essential for offering top-notch custom diecast mold fabrication services. By understanding cavity shape, draft angles, parting lines, and cooling systems, makers can achieve parts of the highest quality.
“The design of the die-casting mold is the heart of the die-casting process and is critical to the production of high-quality die-cast parts.” – Industry Expert
How to Make a Diecast Mold: Step-by-Step Process
Making a diecast mold requires careful steps for a quality cast. You start with the mold box and end with curing the silicone. Every detail matters in this process.
Creating the Mold Box and Pattern
First, measure your item and build a mold box a bit bigger. Use wood or acrylic for the box, as it can handle the casting heat and pressure. Make sure your pattern is clean, dry, and without defects.
Pouring and Curing Process
Mix the silicone casting material well, following the instructions. Pour it slowly into the mold box to avoid air bubbles. Let it cure fully for a strong and precise cast.
Demolding and Final Touches
After curing, cut the mold to remove the pattern. Apply a release agent and cast your material, like metal or resin. Rotate the mold to avoid air pockets. Once cured, remove the final piece from the mold, finishing the process.
FAQ
What are the essential tools and materials required for making a diecast mold at home?
What are the key considerations in the mold design process?
How do you create the mold box and pour the silicone?
How do you demold the original item and prepare the mold for casting?
What are some common issues and troubleshooting tips for diecast mold making?
Source Links
- How to Mold and Cast an Action Figure (or Anything Else) – https://www.instructables.com/How-to-mold-and-cast-an-action-figure-or-anything-/
- Building a Die Casting Mold (Soap Dish Mold Part 1) – https://www.greensandmachines.com/2013/05/building-die-casting-mold.html
- Die Casting Mold: A Detailed Die Cast Mold Tooling Guide – https://www.rapiddirect.com/blog/die-casting-mold/
- Die Casting Mold Designing Tips | 7 Steps Guide From Expert – https://prototool.com/die-casting-mold/
- Die Casting Mold Design And Production Guide, Best In 2024 – https://www.plasticmold.net/die-casting-mold-design-and-production-guide/
- ‘Beginner’s Basics’ – mouldmaking and casting explained – https://davidneat.wordpress.com/methods/mouldmaking-and-casting/beginners-basics-mouldmaking-and-casting-explained/
- The Essential Guide to Die Cast Mold Design and Manufacturing – Fox Mold – https://www.fox-mold.com/a-the-essential-guide-to-die-cast-mold-design-and-manufacturing.html
- How to Design a Die Casting Mold | The Federal Group USA – https://www.tfgusa.com/how-to-design-a-die-casting-mold/
- How to Make Die Cast Molds? |cameldie.com|cameldie.com – https://www.cameldie.com/post/how-to-make-die-cast-molds
- Die Casting Overview: Process, Materials | Xometry Pro – https://xometry.pro/en/articles/die-casting-overview/


