I’ve always loved cars and collecting diecast model cars. Keeping my collection in top shape is important to me. I’ve learned that cleaning diecast cars right is key to keeping them looking great and valuable. Whether you’re new to collecting or have been doing it for years, learning how to restore diecast cars is rewarding.
Restoring diecast cars is a mix of loving cars and being very detailed. It’s a hobby that needs patience, care for details, and a love for preserving these small masterpieces. In this guide, we’ll walk you through how to restore diecast cars, from taking them apart to adding the final touches. By the end, you’ll know how to restore your favorite models and keep them looking great for years.
Cleaning your diecast cars regularly is key to keeping their value and look. Models that are well-kept not only look better but also hold their value longer. With the right tools and methods, you can safely clean away dust, dirt, and stains without harming the paint or details of your models.
Key Takeaways
- Regular cleaning helps maintain the value and appearance of diecast car collections
- Different cleaning techniques are needed based on the level of dirt accumulation
- Assess the condition of each model before cleaning to determine the best approach
- Use gentle materials like microfiber cloths to preserve delicate parts and finishes
- Proper storage in a clean, cool place away from sunlight prevents dirt buildup
Understanding the Nature of Diecast Cars
Diecast cars are loved by many and need care to keep them looking great. They are made from different materials, each needing its own care. Knowing how to take care of them helps keep their value and beauty.
Materials Used in Diecast Cars
Diecast cars are mostly made from metal alloys like zinc and aluminum. These alloys make the cars heavy and strong. But, parts like windows and tires are plastic. The making process is cool, using high pressure to create the detailed designs we love.
Back in the day, Hot Wheels painted their cars with “Spectraflame” paint right on the metal. This made the colors bright but needed many coats. Later, using primer became common to help the paint stick better.
The Importance of Care and Maintenance
Cleaning and looking after diecast cars is key to keeping them in top shape. Dust and oils from touching can dull the finish and harm the car. It’s important to clean them gently with soft brushes, microfiber cloths, and compressed air.
| Cleaning Tool | Purpose |
|---|---|
| Soft brushes | Gently remove dust from intricate details |
| Microfiber cloths | Wipe away dust and restore shine |
| Compressed air | Blow dust out of hard-to-reach areas |
Storing diecast cars right is also vital. Sunlight, extreme temperatures, and humidity can damage them. Keep them in cool, dry places, like display cases, to protect them.
Caring for your diecast collection is a labor of love. By investing time in regular maintenance and providing a safe storage environment, you ensure that these miniature works of art will continue to bring joy for years to come.
We’ll explore more about cleaning, fixing, and showing off diecast cars next. We’ll give you detailed steps to keep your models looking perfect.
Essential Tools for Cleaning
Keeping your diecast car collection in top shape requires the right diecast cleaning tools and diecast cleaning solutions. These tools and products are key to removing dirt, dust, and grime without harming your models.
Cleaning Cloths and Brushes
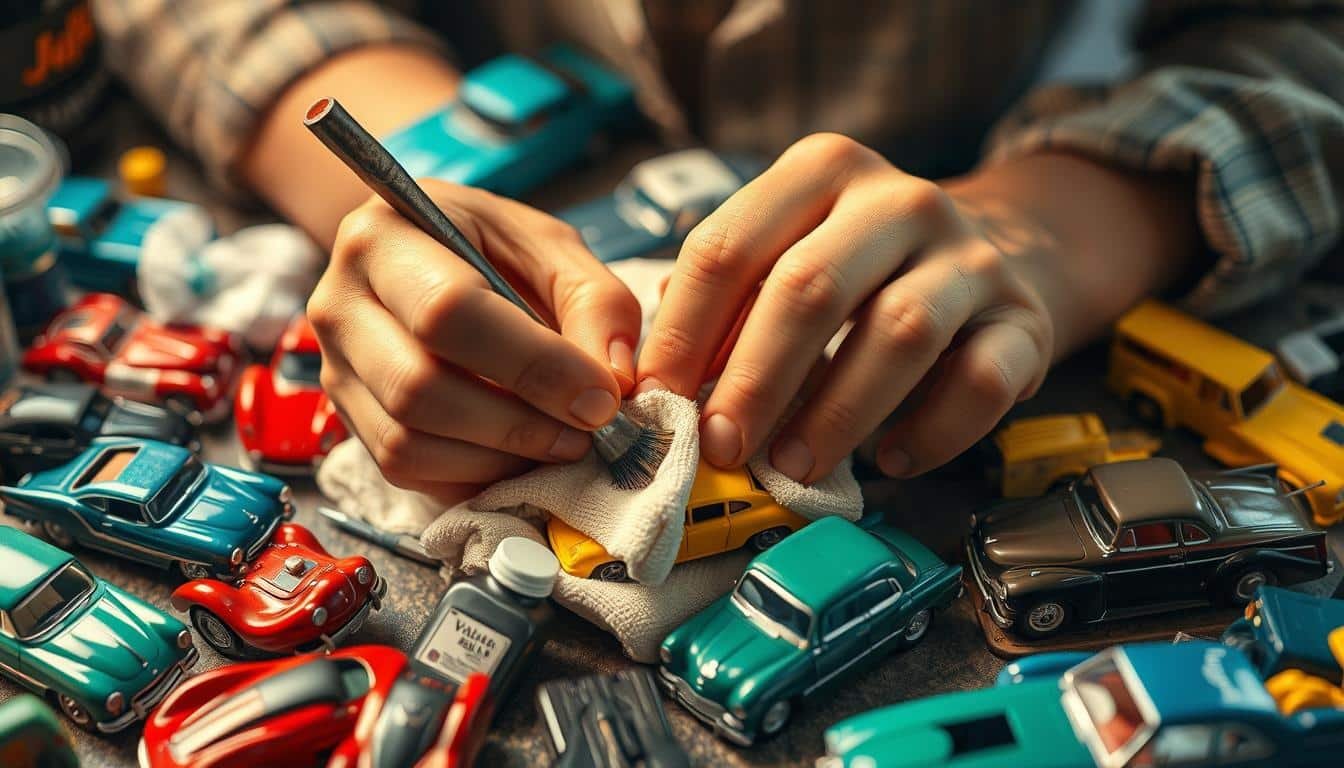
Microfiber cloths are a must for any diecast car fan. They are soft and won’t leave lint on your models. They’re perfect for dusting and light dirt. Soft-bristled brushes, like makeup brushes, are also useful. They help get into tight spots and remove tough grime.
Cleaning Solutions
Choosing the right diecast cleaning solutions is crucial. Stay away from harsh household cleaners that can harm your models. Instead, use mild soap and water or specialized diecast cleaners. For plastic and rubber, Meguiars Vinyl and Rubber Cleaner and Conditioner works well.
Optional Tools for Deep Cleaning
For deeper diecast deep cleaning, you might need extra tools. Toothpicks, cotton swabs, and compressed air are good for tight spots. Be careful not to scratch your models. For heavy grime, a car bath in mild soap can work. But, be quick and dry them right away to avoid water damage.
Regular, routine cleanings are essential to keeping diecast models free from heavy grime and preserving their appearance over time.
Investing in the right diecast cleaning tools and diecast cleaning solutions will keep your collection looking great. Proper care and maintenance not only improve your models’ look but also their value to collectors.
Preparing Your Workspace
Before starting the cleaning process, it’s important to have a dedicated diecast workspace. A well-organized area makes the restoration process more fun and efficient. Let’s look at some key things to consider when setting up your workspace.
Choosing a Suitable Location
Choose a spot that’s well-lit and has good air flow for your diecast projects. Good lighting helps you see small details and clean thoroughly. Also, having a space with a sturdy table or workbench is key. It gives you enough room for your tools and materials.
Organizing Your Tools
Keep your diecast workspace tidy by organizing your tools and supplies. Use storage solutions like toolboxes, trays, or containers to keep things in order. Here are some essential tools to have:
- Screwdrivers (various sizes)
- Tweezers and pliers
- Putty or filler for repairs
- Magnifying glass for intricate work
- Paints, brushes, and primer
- Super glue for reattaching parts
Organize your tools by purpose. Group cleaning supplies together and keep painting materials separate. This makes your workflow smoother and keeps your workspace clutter-free.
| Tool | Purpose |
|---|---|
| Screwdrivers | Disassembling and reassembling diecast models |
| Tweezers and pliers | Handling small parts and intricate details |
| Putty or filler | Repairing dents, scratches, and imperfections |
| Magnifying glass | Inspecting fine details and ensuring precision |
By spending time on setting up a well-organized diecast workspace, you’ll create a space that helps you focus and enjoy your restoration projects.
Initial Inspection
Before you start cleaning your diecast cars, take a moment to inspect each one carefully. This step is key to spotting any damage or stains that need extra care during cleaning.
Checking for Damage
Look closely at your diecast cars for any damage like scratches, chips, or missing parts. Be extra careful with delicate spots like mirrors, antennas, and wheels. Note any damaged areas for the cleaning and repair steps ahead.
Experts say it’s important to handle your diecast models gently during inspection. Using rubber gloves can help prevent damage and oil transfer from your hands to the model’s surface.
Identifying Stains and Dirt
Also, check for stains or dirt on your diecast cars during the initial inspection. Look out for dust, fingerprints, and smudges. Make a list of any tough stains that need extra cleaning effort.
Weekly dusting and keeping a clean display area can help prevent dirt and dust buildup.
By carefully inspecting your diecast cars before cleaning, you’ll be ready to restore them to their original state. This way, you’ll keep their value and extend their life.
Disassembling Diecast Cars
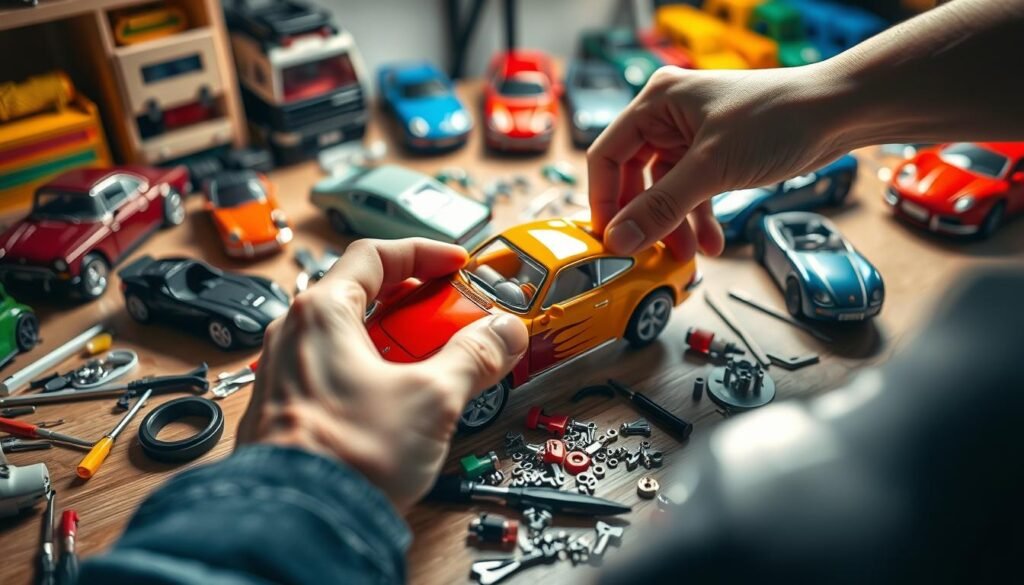
Disassembling your diecast cars is key to cleaning and restoring them. It lets you clean every part of your model, making it look great. With the right tools and a plan, you can take apart your diecast car and make it look new again.
Why Disassemble?
There are good reasons to take apart your diecast car:
- To clean deeply and get rid of dust and dirt
- To fix any broken parts
- To repaint or customize it
By taking it apart, you can clean every detail. This makes your model look better and keeps its value high.
Step-by-Step Disassembly Process
Before starting, make sure you have the right tools. You’ll need small screwdrivers, pliers, and a soft surface. It’s also smart to take photos or label parts as you remove them.
The steps to disassemble your diecast car depend on the model and maker. Here’s a general guide:
- Remove the screws that hold the body to the chassis
- Separate the body from the chassis carefully
- Take out any interior parts, like seats and dashboard
- Detach the wheels and axles
- Remove any extra parts, like the engine or hood
Be careful and gentle when taking it apart. Some parts, like small trim or emblems, need special care to avoid damage.
| Part | Removal Technique |
|---|---|
| Rear bumper | Unscrew from chassis |
| Trunk lid | Unscrew hinges from body |
| Doors | Unscrew hinges from body, remove door panel and internal components |
| Windshield | Carefully pry from body using a small flathead screwdriver |
| Hood | Unscrew hinges from body |
With patience and care, you can disassemble your diecast car well. This effort will make your model look great and be something to be proud of.
Cleaning the Exterior

Keeping your diecast car collection looking great is key. Regular cleaning helps prevent heavy grime buildup. This keeps your models looking amazing for years.
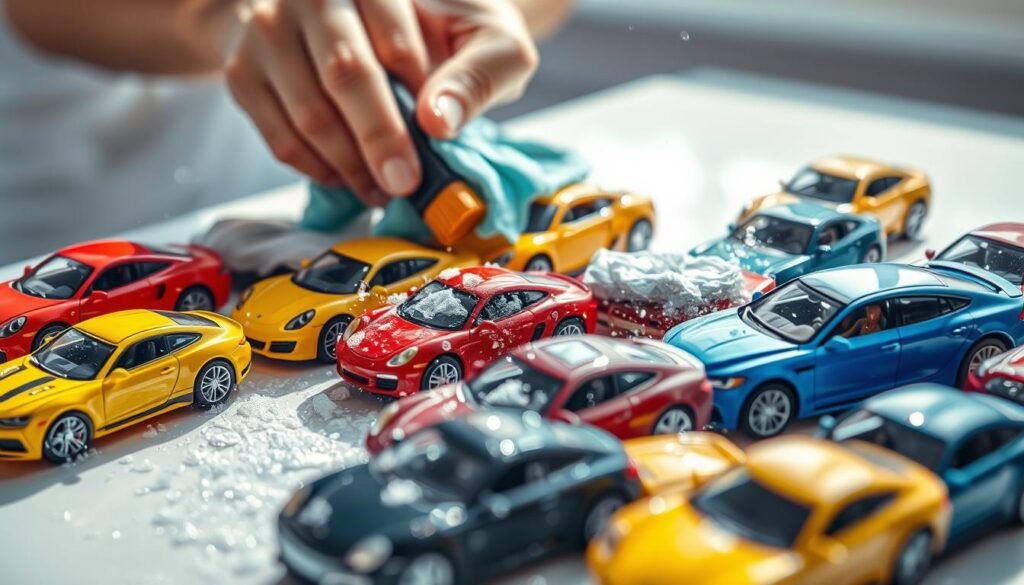
There are three main cleaning types for diecast models: dusting, general cleaning, and deep cleaning. For deep cleaning, soak the cars in lukewarm water with mild soap for 30 seconds. Then, dry them well to prevent rust. But, never use household cleaners or harsh chemicals, as they can harm the paint or materials.
Washing Techniques
When washing diecast models, be gentle and use the right tools. Use a microfiber cloth dampened with distilled water for clear plastic parts. This avoids cloudiness or streaks. For the car’s body, small polishing pads are best for reaching tight spots.
Polish pads are great for removing fingerprints and grease. They make the car look new again with a shiny effect. Always use new brushes to avoid color marks on the cars.
Removing Stickers and Decals
Removing stickers and decals needs care and patience. Start by gently peeling a corner with your fingernail or a soft tool. Slowly peel the sticker or decal, avoiding paint damage or residue.
If a sticker is hard to remove, try a hair dryer on low. This can soften the adhesive. But, don’t hold the dryer too close or for too long, as it can harm the paint or plastic.
By taking good care of your diecast models, you can keep them looking great for years. Use gentle methods, avoid harsh chemicals, and take your time for the best results.
Cleaning the Interior
Cleaning the inside of your diecast cars is as crucial as the outside. With some patience and the right methods, you can make them look brand new again.
Accessing the Inside of Diecast Cars
To start cleaning the diecast interior, you need to get inside. Many models let you take off the base or windshield. Check your car to see how it comes apart. Here are common ways to diecast interior access:
- Unscrewing the base plate
- Gently prying off the windshield
- Removing snap-on components
Be gentle when handling parts to avoid damage. Use this chart for tips on getting to different spots:
| Interior Area | Access Method |
|---|---|
| Dashboard & Seats | Remove windshield |
| Floor & Pedals | Unscrew base plate |
| Door Panels | Pry off or unscrew doors |
Techniques for Interior Cleaning
With access, use these tools and methods to clean gently:
- Soft-bristled brushes – perfect for dusting surfaces
- Toothpicks – ideal for getting into crevices
- Cotton swabs – great for cleaning small details
- Canned air – blasts away dust from hard-to-reach spots
Be slow and careful to avoid scratches or breaks. With care, your diecast cars’ interiors will look new again.
The key to cleaning diecast interiors is to be gentle and patient. Rushing can lead to damages that are difficult to repair.
Dealing with Tough Stains
Keeping your diecast car collection in top shape can be tough. But, the right products and methods can help you remove even the toughest stains.
It’s vital to use the right cleaning tools to avoid damaging your diecast models. Choose products made for diecast cars or gentle cleaners. Always test a small area first to make sure it won’t harm your model.
Products to Use
Here are some top picks for removing stains from diecast cars:
- Specialized diecast cleaning solutions
- Mild soap and water
- Soft-bristled brushes
- Microfiber cloths
- Cotton swabs and toothpicks for hard-to-reach areas
How to Treat Specific Stains
Each stain needs a special approach for removal. Here’s a guide for common stains on diecast cars:
| Stain Type | Removal Method |
|---|---|
| Dust and grime | Use a soft microfiber cloth or lukewarm water with mild soap |
| Rust spots | Gently buff with a specialized rust remover or fine-grit sandpaper |
| Paint transfer | Carefully scrape off with a plastic razor blade or use a paint remover solution |
| Adhesive residue | Apply a small amount of adhesive remover and gently rub off with a cloth |
Patience and care are crucial when removing stains from diecast cars. Work slowly and gently to avoid damage. With the right tools and methods, you can make your diecast cars look new again. Enjoy them for many years to come.
Polishing and Finishing Touches
After cleaning your diecast car, it’s time to add the final touches. Polishing makes it shine like new. It also protects the finish for years.
Choose a polish made for model cars. These are gentle on paint and plastic. Avoid harsh chemicals or abrasive cleaners to prevent damage.
Choosing the Right Polish
There are many polishes for diecast cars, each with benefits:
- Fine polishing compounds remove light imperfections and swirls. Use a soft microfiber cloth or a polishing tool.
- Protective waxes and sealants keep the finish safe. They prevent dust and dirt, keeping your car shiny longer.
Application Techniques
Apply polish with a soft microfiber cloth or a polishing tool. Use gentle, circular motions. Be careful not to press too hard on delicate areas.
| Polishing Step | Product | Application Method |
|---|---|---|
| Remove light imperfections | Rupes DA Fine Polishing Compound | Rupes BigFoot MarkIII 21mm with Meguiar’s Microfiber Disc |
| Prepare surface for coating | Panel Wipe | Spray onto surface and wipe with Pearl Edgeless Towel |
| Apply protective coating | Crystal Serum Light and EXO coatings | Apply evenly to surface |
| Enhance gloss and protection | C2 Ceramic Sealant | Apply as a top coat over protective coatings |
After polishing, buff the surface with a clean, dry microfiber cloth. This will make it glossy. Remember, patience and detail are key for professional results. With the right tools and techniques, your diecast cars will look great for years.
Reassembling Your Diecast Cars

After cleaning and restoring your diecast cars, it’s time to put them back together. Reassembling them needs patience, detail, and a steady hand. This process is key to making your models look and work great.
Step-by-Step Reassembly
To start, gather all parts of your diecast car and organize them. Use any photos or labels from disassembly to check if you have everything. Here’s how to reassemble smoothly:
- Begin with the car’s main body and attach the chassis securely.
- Put back the wheels, axles, and suspension parts, making sure they’re aligned right.
- Install the interior parts like seats, dashboard, and steering wheel, if there are any.
- Attach the exterior details like mirrors, bumpers, and lights, focusing on their correct spots.
- Lastly, put back the windows, windshield, and other transparent parts, ensuring a tight fit.
Ensuring Everything is Secure
As you reassemble, make sure each part is well attached. Use small tools like screwdrivers or tweezers to tighten screws or clips. Check each connection to avoid parts falling off or getting loose later.
| Reassembly Step | Key Considerations |
|---|---|
| Chassis attachment | Ensure proper alignment and secure fastening |
| Wheel and suspension installation | Check for correct positioning and smooth rotation |
| Interior component placement | Verify accurate fit and secure attachment |
| Exterior detail reattachment | Pay attention to proper placement and secure connection |
| Window and transparent part installation | Ensure a snug fit and clear visibility |
After finishing the reassembly, take a moment to admire your work. Your diecast car should look brand new. With the right care, your reassembled cars will be a source of pride for years.
Maintaining Your Collection
After cleaning your diecast cars, it’s key to keep up with regular cleaning. Clean them every 3-6 months if they’re in a dust-free spot. But, if they get a lot of dust or are handled a lot, clean them more often, like every 1-3 months.
Regular cleanings stop grime from building up. This saves you time and keeps your collection in great shape.
Regular Cleaning Schedule
Check how dirty your diecast cars are before you clean them. You might need to just dust them, do a general clean, or a deep clean. Use the right tools and be careful not to damage them.
Don’t use regular household cleaners. They can harm the paint or materials. Don’t take apart your diecast models. It can damage them or lower their value. Just clean the outside and easy-to-reach areas.
Tips for Safe Display and Storage
Keep your diecast models in a cool, clean spot away from sunlight. This helps keep them looking good and prevents dust buildup. Store them in display cases to keep them dust-free.
Use an air purifier while cleaning to catch dust particles. Clean them with polishing pads and makeup brushes to make them shine. Taking good care of your collection keeps its value high. It will impress anyone who sees it.
FAQ
What materials are diecast cars made of?
Why is regular cleaning and maintenance important for diecast cars?
What tools do I need to clean my diecast cars?
How do I remove stubborn stains from my diecast cars?
Is it necessary to disassemble my diecast cars for cleaning?
What’s the best way to polish my diecast cars?
How often should I clean my diecast collection?
What are some tips for displaying and storing my diecast cars?
Source Links
- How to Clean & Preserve Diecast Scale Models – https://www.autoworldstore.com/blogs/tips-tricks/cleaning-diecast-models?srsltid=AfmBOooCrua-gjLokJqF58IXlc2BRVMJCcMa1aB431G0nZco59WtCuYr
- How to Clean your Collectible Die Cast and Resin Model Cars – https://www.modelcarshouston.com/blogs/news/how-to-clean-your-collectible-model-cars?srsltid=AfmBOoo_IAb3yK5OxiRkfKyz3Nkb8JsDXyTI4agI0ywFQfFkoL7LlZMb
- Cleaning Your Diecast Model – https://www.model-car-world.co.uk/blog/post/Cleaning Your Diecast Model
- Understanding undercoat – https://www.planetdiecast.com/index.php?option=com_kunena&func=view&catid=83&id=28769&Itemid=0
- Practical Ways To Maintain Your Model Car Collection – https://livecarmodel.com/blog/practical-ways-to-maintain-your-model-car-collection/?srsltid=AfmBOorQqfVzWAqiOTr3kLrQAPHI8xx7jhFyUZF3U60AXG8prCDnwsCl
- Model Care – https://diecastmodelcentre.co.uk/pages/model-care?srsltid=AfmBOoqYSpSWzXVvKAuf6ootDpIDG14aFlvo_ApHCQh03O9mZTZot0dm
- How to Clean & Preserve Diecast Scale Models – https://www.autoworldstore.com/blogs/tips-tricks/cleaning-diecast-models?srsltid=AfmBOopHfv-l1WKbyQydRVSWsp0cZCYC1lmmdfHiZHFu-GNxywbRa38q
- The Ultimate Guide to Cleaning Your Diecast Scale Model Collection – https://www.weissbrothers.us/the-ultimate-guide-to-cleaning-your-diecast-scale-model-collection/?srsltid=AfmBOorU7gee3xXr5UZ36NvB9eoEGIcI7wZkAHwFGvf83QxldxRUTsC0
- How to: Clean a very dirty dust filled diecast – https://www.diecastxchange.com/threads/how-to-clean-a-very-dirty-dust-filled-diecast.65610/
- A Guide to Master Diecast Car Customization – https://lasertransfersupplies.com/blogs/articles/guide-to-master-diecast-car-customization
- How to detail scale models and die-casts like real concours show cars – Hagerty Media – https://www.hagerty.com/media/entertainment/how-to-detail-scale-models-and-die-casts-like-real-concours-show-cars/
- Diecast Car Restoration: A Step-by-Step Guide – https://livecarmodel.com/blog/diecast-car-restoration-a-stepbystep-guide/?srsltid=AfmBOooAzmfA5CylDvn32RuE9lpZmR-ZNX769nyS9aRMNL8j8NvWiRVo
- Diecast Repair Information and Diecast Tips. – http://www.jsssoftware.com/aspx/diecast_tips.aspx
- How To Polish and Wax Your Diecast Model Cars – https://livecarmodel.com/blog/how-to-polish-and-wax-your-diecast-model-cars/?srsltid=AfmBOopfHezOcSmHkGheErrChfoUBmyH5pO2ro9KFiVAnod7pL2DEl9j
- How to Clean & Preserve Diecast Scale Models – https://www.autoworldstore.com/blogs/tips-tricks/cleaning-diecast-models?srsltid=AfmBOooVdKjlhSwVUkH7Ul5SeSUo4pFeTFuQi8ZhpnBktKIkad1oWyl9
- Diecast Car Restoration: A Step-by-Step Guide – https://livecarmodel.com/blog/diecast-car-restoration-a-stepbystep-guide/?srsltid=AfmBOoqxugRpEMF-v_aunAe9IycAYWCFoOeoTd-I5guSte9gXm6xCSKq
- Dismantling a Danbury Mint 1962 Thunderbird Sports Roadster … – https://diecast.org/community/lounge/dismantling-a-danbury-mint-1962-thunderbird-sports-roadster-part-1/
- How to Clean & Preserve Diecast Scale Models – https://www.autoworldstore.com/blogs/tips-tricks/cleaning-diecast-models?srsltid=AfmBOorxEEhCdqO0yembzBolc9jpoim1wogpX3A-0fYntRw6DQAAJ-PK
- The Ultimate Guide to Cleaning Your Diecast Scale Model Collection – https://www.weissbrothers.us/the-ultimate-guide-to-cleaning-your-diecast-scale-model-collection/?srsltid=AfmBOopo7hH_EHAb8LZ_ypb2tXGJmCsqiqTK8wxGAhRMWXdsPbUmR14m
- How to Clean your Collectible Die Cast and Resin Model Cars – https://www.modelcarshouston.com/blogs/news/how-to-clean-your-collectible-model-cars?srsltid=AfmBOoppJjUOtAJk8va61fv_C9mLjOCxJaf_-UpZJDIgcM2vBPaOhlNR
- How to Clean & Preserve Diecast Scale Models – https://www.autoworldstore.com/blogs/tips-tricks/cleaning-diecast-models?srsltid=AfmBOorVKC7-Y6Z4S_7D6MhDXEEdrSldGp0rc1dVV96x-fyOqkqtJNcj
- Common Car Paint Stains and How to Get Rid of Them – https://avalonking.com/blogs/car-detailing/common-car-paint-stains-and-how-to-get-rid-of-them?srsltid=AfmBOop_jdiIw6UCjjPPBUwkcJZuDujiCWnRXUMi6sjfP4UeF8M7MHB3
- How to Remove Stains from Your Car’s Upholstery – https://www.capitalone.com/cars/learn/finding-the-right-car/how-to-remove-stains-from-your-cars-upholstery/1655
- Gtechniq NASCAR Detail – https://www.detailedimage.com/Ask-a-Pro/gtechniq-nascar-detail/?srsltid=AfmBOopzNBnV7AEuRlUvgK-IoaQchz3YEjnSMRYv5v4by9POXdIocA5r
- Detailing Model Cars: A Comprehensive Guide – Car Detailing UK – https://cardetailinguk.com/detailing-model-cars/
- How To Care For Your Diecast Collection To Keep It Looking New – https://www.carandbike.com/news/how-to-care-for-your-diecast-collection-to-keep-it-looking-new-2951690
- Paint Stripping using Oven Cleaner Second Test. – https://www.planetdiecast.com/index.php?option=com_kunena&func=view&catid=123&id=31709&Itemid=0
- Diecast Car Restoration: A Step-by-Step Guide – https://livecarmodel.com/blog/diecast-car-restoration-a-stepbystep-guide/?srsltid=AfmBOopmwAhazwOFIs2ErNkqcauKVHqKsLdpYm2Vh7dTD5F6PGWHeKzm
- The Ultimate Guide to Cleaning Your Diecast Scale Model Collection – https://www.weissbrothers.us/the-ultimate-guide-to-cleaning-your-diecast-scale-model-collection/?srsltid=AfmBOop6KAkrooj3k5wQwOs6pQBlgU-XVYDkzkKcFnEA8Cq1x7_gLbTw
- How to Clean & Preserve Diecast Scale Models – https://www.autoworldstore.com/blogs/tips-tricks/cleaning-diecast-models?srsltid=AfmBOopXtalgkX_2eZqFzRDiHVefxWcnu7yvcvIlsKphZHPXIcCA8GtD
- How to Clean your Collectible Die Cast and Resin Model Cars – https://www.modelcarshouston.com/blogs/news/how-to-clean-your-collectible-model-cars?srsltid=AfmBOorLRpRcn9giD40pvrSUZGfMq0mpqWDVLAFUWsCss5A-xLzjK_n0


