Create Your Own Custom NASCAR Diecast: DIY Guide
Affiliate links — we may earn a commission
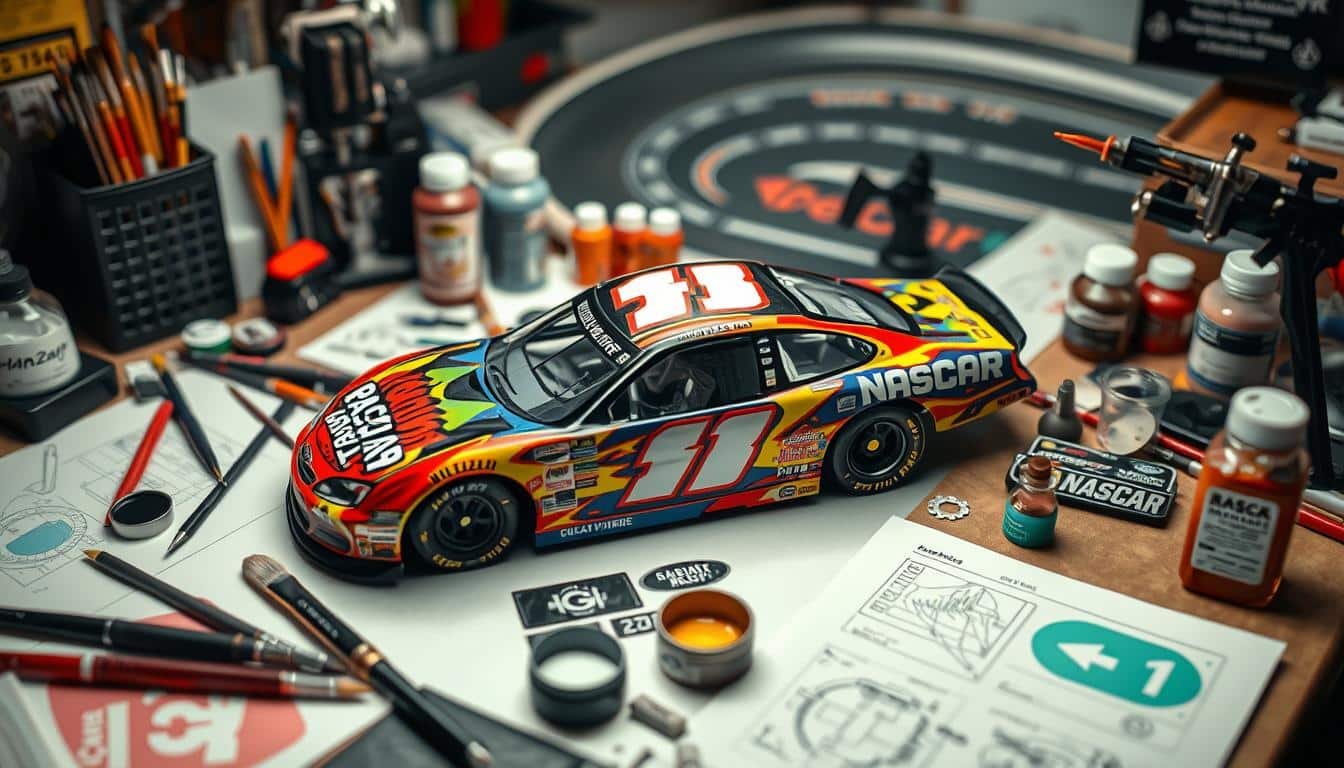
Customizing NASCAR diecast models can involve modifying over 100 individual parts. This hobby blends precision, creativity, and a deep love for racing1. My two decades of experience have shown how passion transforms simple models into unique masterpieces1.
A DIY NASCAR model project lets you bring your favorite drivers’ cars to life. You can also create entirely new designs. Each step brings you closer to a one-of-a-kind NASCAR replica.
Diecast customization is a vast world where enthusiasts spend hours perfecting their techniques. This guide will teach you the essentials of custom NASCAR diecast building. You’ll learn to recreate race-day liveries or design your dream NASCAR scheme.
Key Takeaways
- Custom NASCAR diecast building requires patience and attention to detail
- The process involves disassembly, modification, repainting, and decal application
- Proper tools and materials are crucial for successful customization
- Customization allows for creating unique racing collectibles
- Experience and precision are key to avoiding costly mistakes in the process
Essential Tools and Materials for Custom Diecast Building
Custom diecast painting projects need a well-equipped workspace and the right tools. Let’s explore the essentials for bringing diecast model kits to life.
Basic Tools for Disassembly
Get precision screwdrivers, pliers, and an X-Acto knife for careful disassembly. A band saw with a 1/4 inch blade works well for initial cutting.
For more precise cuts, use a 1/8 inch blade2. Keep Elmer’s glue on hand for putting pieces back together2.
Paint and Finishing Supplies
Gather acrylic paints in various colors for custom diecast painting2. Get brushes of different shapes and sizes for fine details and broad strokes3.
Use sandpaper in grits from 400 to 1,000 for smooth finishes3. Apply a poly urethane acrylic coat to protect your work2.
Storage Solutions for Small Parts
Keep your workspace tidy with tackle boxes or magnetic bowls. These tools help you track tiny components when working with intricate diecast model kits.
Safety Equipment and Workspace Setup
Stay safe by using gloves and safety glasses. Work in a well-ventilated area to avoid fume buildup3.
Use 3/4 inch pine as a wood backing for your projects2. Good lighting is crucial for detailed work on miniature car building tools.
| Tool Category | Essential Items | Purpose |
|---|---|---|
| Disassembly | Screwdrivers, Pliers, X-Acto knife | Careful deconstruction of models |
| Painting | Acrylic paints, Brushes, Sandpaper | Custom finishes and detailing |
| Storage | Tackle boxes, Magnetic bowls | Organizing small parts |
| Safety | Gloves, Safety glasses, Ventilation | Protecting yourself during work |
These tools and materials will set you up for success in custom diecast building. Quality tools lead to amazing results in your miniature car projects.
How to Make Your Own Custom NASCAR Diecast

Ready to create a one-of-a-kind NASCAR diecast? This guide will help you turn your model into a unique masterpiece. Let’s explore the steps to transform your diecast!
Disassembling the Diecast Model
Carefully remove screws to separate the body from the chassis. Work in a well-lit area to avoid missing small parts1. For easier disassembly, freeze the hood and trunk before removing their pins1.
Removing Windows and Plastic Components
Gently detach windows and plastic parts like roof cams and spoilers. Take your time to prevent breakage1. Remove all plastic components carefully to avoid paint stripping issues later1.
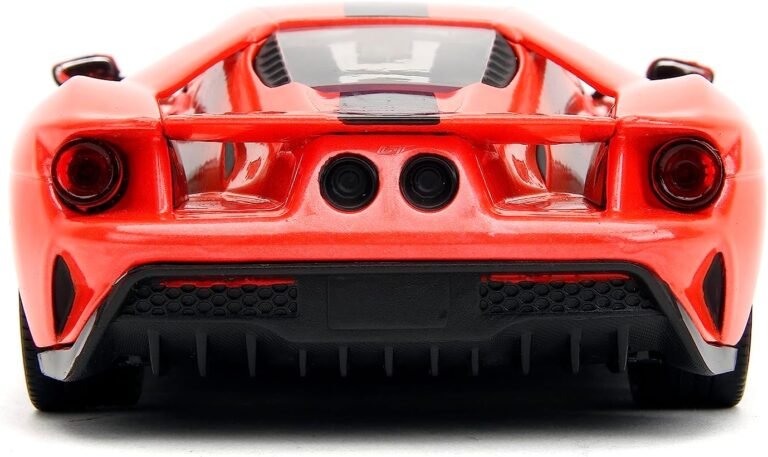
Chassis Modifications and Wheel Customization
Check suspension components and remove wheels from the chassis1. Consider custom diecast wheels to enhance your model’s look. You can modify air intakes and shock mounts for a realistic suspension1.
Paint Stripping and Surface Preparation
Carefully strip the old paint and prep the surface. This step is crucial for a professional finish. Sand the surface smoothly to help the new paint stick properly.
Custom Paint Application Techniques
Use airbrush techniques for the best results on diecasts. This method gives smooth, even coverage for intricate designs. Apply thin layers, slowly building up the color for a flawless finish.
Decal Application and Final Assembly
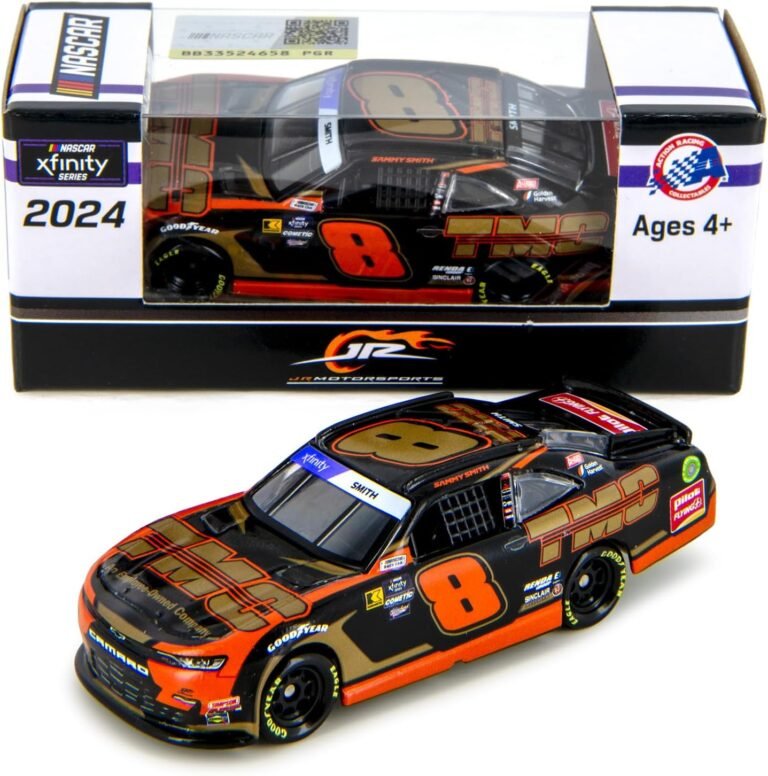
Add custom decals to create authentic detailing. Popular NASCAR drivers inspire great custom designs4. Carefully put your model back together, making sure all parts fit correctly.
| Step | Time Required | Skill Level |
|---|---|---|
| Disassembly | 1-2 hours | Beginner |
| Paint Stripping | 2-3 hours | Intermediate |
| Custom Painting | 3-4 hours | Advanced |
| Decal Application | 1-2 hours | Intermediate |
| Reassembly | 1-2 hours | Beginner |
Customizing diecast models is a hit among collectors. The 1:24 scale is a popular choice5. Enjoy creating your unique NASCAR diecast masterpiece!
Conclusion
Custom NASCAR diecasts blend art and technical skill. You’ll love making unique collectibles that stand out. These techniques let you bring your ideas to life.
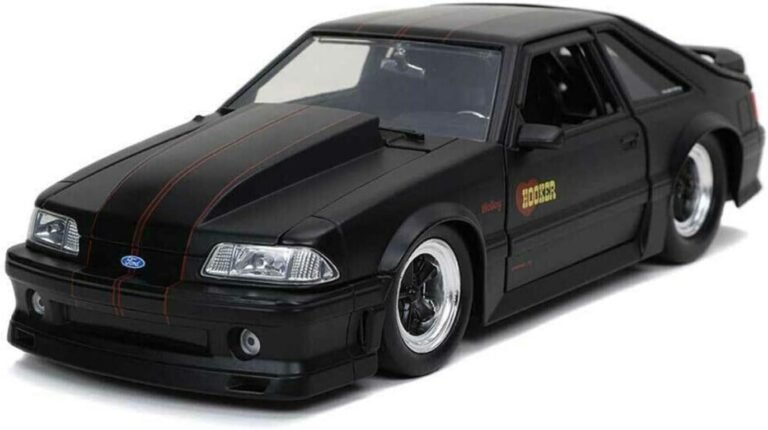
Diecast car customization offers endless possibilities. From classic paint schemes to futuristic designs, your creations can honor NASCAR legends. You can also showcase your own innovative concepts.
The diecast hobby has evolved over time. Some treat it as a business, but true passion remains strong. Rare models, like the 1997 Pontiac Grand Prix Stocker, show the appeal of unique pieces6.
Your custom diecasts can become treasured collectibles. Each one tells a story of NASCAR history and your creative journey. They reflect your personal touch and imagination.
Mastering custom diecast techniques takes patience and practice. As you improve, you’ll create more impressive NASCAR collectibles. Share your work with others to learn and inspire.
What tools do I need to start customizing NASCAR diecasts?
How do I disassemble a NASCAR diecast model?
What’s the best way to strip old paint from a diecast model?
How can I achieve a smooth paint finish on my custom diecast?
Where can I find custom decals for my NASCAR diecast?
How do I modify the chassis to lower the stance of my diecast?
What’s the best way to apply custom decals to my NASCAR diecast?
How long does it typically take to complete a custom NASCAR diecast project?
Can I customize diecast models other than NASCAR?
How can I get better at customizing diecasts?
Source Links
- How to make a 1/24 custom start to finish – https://www.diecastcrazy.com/threads/how-to-make-a-1-24-custom-start-to-finish.88775/
- Make Your Own Model Cars and Save a Bundle! – https://www.instructables.com/Make-Your-Own-Model-Cars-and-Save-A-Bundle/
- Supplies & Tools for Building Model Cars – https://www.autoworldstore.com/blogs/tips-tricks/top-scale-model-car-supplies?srsltid=AfmBOoojeg4PJzxiMNVmren04NBPG1TB59z5cXWH1WBl5Ip8jW3QDudb
- Hobbyist Shows How to Build a Custom NASCAR Diecast – https://fanbuzz.com/racing/nascar-diecast/
- Custom diecast Replicas – https://customdiecastreplicas.com/
- 2006 – https://www.diecastcrazy.com/threads/2006.33211/
Mike Callahan
Contributing writer covering diecast cars and figurines.

One Comment