How to Fix Paint Chips on Diecast – Easy Repair Guide
Affiliate links — we may earn a commission
Paint chip repairs are a hot topic among diecast collectors. A popular forum has 2,121 posts about this issue1. This guide will help you restore your prized diecast models.
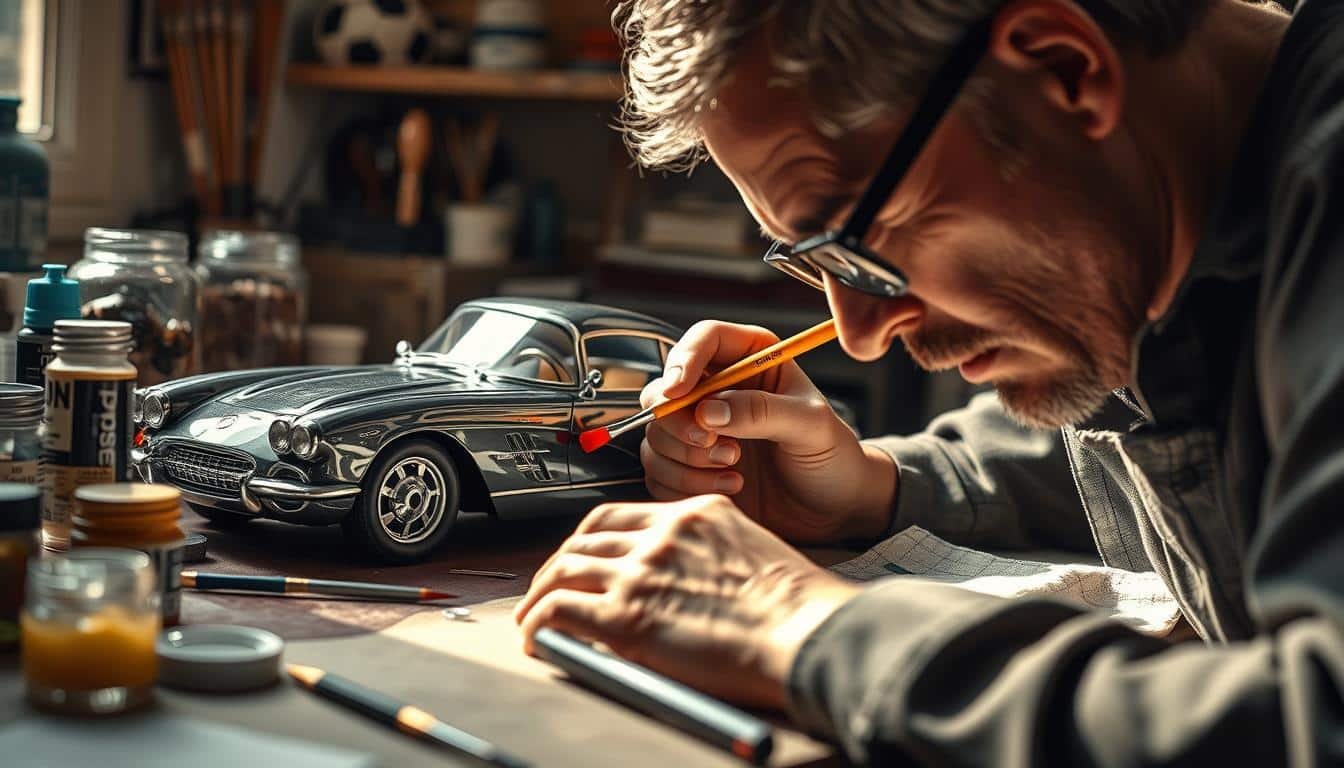
Precision matters when fixing diecast paint. Many collectors use enamel model paint and fine-tipped brushes for chipped areas1. But first, let’s explore your options for paint removal and touch-ups.
You can choose from aerosol “aircraft” paint stripper, brake fluid, or oven cleaner2. Each works differently, so pick the best one for your needs.
For major damage, some fans suggest using Micro Kristal for repairs1. Others recommend asking the retailer for an exchange. If using epoxy, allow at least 48 hours for proper curing2.
Restoring diecast models requires patience and care. This guide will help you bring your collectibles back to their best condition. With practice, you’ll master the art of diecast touch-ups.
Key Takeaways
- Paint chip repairs are a common concern among diecast collectors
- Enamel model paint and fine-tipped brushes are popular for touch-ups
- Various paint removal options are available for different repair needs
- Micro Kristal Klear is recommended for certain types of repairs
- Proper curing time is crucial for successful epoxy-based repairs
- Contacting the retailer for an exchange is an option for severely damaged models
- Patience and precision are key to achieving professional-looking results
Essential Tools and Materials for Diecast Paint Repair
Fixing paint chips on diecast models needs the right tools. Let’s explore what you need for successful diecast customization. These items will help you maintain your models effectively.
Paint Selection and Matching Tips
Pick enamel or lacquer paint matching your model’s color. Tomy Takara and Matchbox are excellent brands for diecast cars3. Use a color-matching tool or ask a hobby shop for the perfect match.
Required Tools Checklist
Here’s a list of essential tools for diecast detailing:
- Fine-grade sandpaper (600-15000 grit)
- Small paintbrushes
- Masking tape
- Rotary tool with drill and saw attachments
- Hobby knife
- Superglue
- Black permanent marker (for carbon fiber effects)
- Clear packaging plastic (for custom parts)3
For axle repairs, you’ll need a small propane torch or gas stove. A jeweler’s hammer and bench anvil are also necessary4. Brass and steel wire brushes help remove paint.
Brass brushes are gentler on surfaces than steel ones4. Choose the right brush for your specific repair needs.
Safety Equipment and Workspace Setup
Work in a well-ventilated area for your safety. Wear protective gear like gloves and a mask. Set up a clean, flat surface for your model maintenance.
Apply light, multiple coats of paint with drying time between each. This method prevents bubble formation3. For a pro finish, use Meguiar’s car wax after sanding.
Hand-buff the model after using ultra-fine grits up to 150005. These tips will help you achieve stunning results in your projects.
How to Fix Paint Chips on Diecast: Step-by-Step Process
Restoring old diecast models demands precision and proper methods. Paint rash often plagues collectors’ items due to UV rays, humidity, and chemicals6. Let’s explore how to fix paint chips and safeguard your diecast treasures.
Surface Preparation and Cleaning
Begin by gently cleaning the damaged area with mild soap and water6. Use dental picks and small pliers to remove loose paint or debris2.
Smooth the chipped spot with fine-grade sandpaper for a clean repair surface. For tough paint issues, try aircraft paint stripper or brake fluid2.
Primer Application Techniques
Apply a thin primer layer to cover bare metal and build thickness. This step is vital for preserving diecast collections and ensuring paint sticks well. Use a small brush or airbrush for accuracy.
Let each layer dry completely before moving on. This ensures a strong foundation for the paint.
Paint Application Methods
Apply thin layers of matching paint, allowing each coat to dry fully. For metallic finishes, start with silver metallic paint.
Follow with thin layers of colored paint mixed with clear coat. This method helps create a smooth blend.
For bigger chips, try color blending to match the surrounding area perfectly.
Final Finishing and Clear Coat
Finish by applying a clear coat to protect the newly painted area. Once dry, wet sand and buff for a flawless look.
Store your fixed models in a cool, dry place. Handle them carefully to avoid future damage6.
These repair techniques will keep your collection beautiful for years to come.
What type of paint should I use for diecast model repairs?
How do I prepare the surface before repairing a paint chip?
Is primer necessary when fixing paint chips on diecast models?
How can I achieve a seamless finish when repairing paint chips?
What’s the best way to match metallic paint on a diecast model?
How can I protect myself when working with diecast paint repair materials?
What’s the best way to reattach small parts without damaging the paint?
How do I fix larger paint chips or scratches on my diecast model?
Source Links
- –> PLEASE HELP! Paint chip on Gemini200 model! – https://www.diecastaircraftforum.com/1-200-scale-model-aircraft/159474-please-help-paint-chip-gemini200-model.html
- Restoration Handbook – The Vintage British Diecast Forum (VBD3) – http://www.vbd3.co.uk/viewtopic.php?t=29
- How to Modify a Die-Cast Car – https://www.instructables.com/How-to-Modify-a-Die-Cast-Car/
- Restoration Tools – https://matchbox359808139.wordpress.com/2017/12/21/restoration-tools/
- Would you buy a model with paint rash? – https://www.diecastxchange.com/threads/would-you-buy-a-model-with-paint-rash.237796/
- What Is Paint Rash on Diecast Model Cars? – https://livecarmodel.com/blog/what-is-paint-rash-on-diecast-model-cars/?srsltid=AfmBOoo4jcKgVc1EmGkVpugepydgtPkouYmecYZR383GEKZz8ZsgwBc8
Mike Callahan
Contributing writer covering diecast cars and figurines.


I reckon the article should have included a section on how to prevent paint chips in the first place, thoughts?
The article doesnt mention using a magnifying glass for precision, isnt that essential for diecast paint repair?